Friday, 8 March 2024

'C' Battery, 4 Royal Horse Artillery

Another project completed. Riding on the wave of hobbyist accomplishments, I decided I would sit down and finally finish these things off. Like many of my other models, I put them together ages ago and started with the base coats before I quickly lost interest and my drive. However, no longer will they sit part-painted collecting dust on my shelf. No, now they can sill fully painted collecting dust as should be the way!

These are from the Plastic Soldier Company Sexton kit, and what a kit they are. The box contains five, total. However, I can field four or eight, so I may have to purchase three more separately and work on them to have a complete Battery. As it stands, I will be able to field one Troop. So that's good at least.

In-game, they offer my Armoured units some flexible and mobile Artillery, having the ability to fire both open-sight - or direct fire, and Bombardment. Again, like the M-10's, they aren't necessarily better than the static 25 Pounder Field Guns. But because of wautism, Armoured units typically had them operate within them to keep up with the pace of Tanks, so here we are.

Like the Recce post, I used some historical pictures to give me a bit of an idea as to how I might paint these up. They're all Black and White, so at least for unit markings and the likes, I could get some idea as to what's what, but I also used modern restored pictures too. So let's have a look.


I used this for colour ideas - but as will be the case for most of this force - I went with Vallejo WW2 Russian Uniform. The vehicle above looks like it's a pretty close match, perhaps mixed with a little Middlestone or Khaki, but I wasn't going to bother with that. Behind the port-hatch is the symbol of the 21st Army Group, which the 4th Armoured Brigade was under. The "S" with the number is the vehicles Seriel Number "S" meaning "Self-propelled". On my own vehicles, I attempted a free-hand of the 21st Army Group symbol. Seeing the lovely work Greg put into his free-hand pauldron's on his Orkz, I figured I'd give it a try. They came out a little rough and can only commend him on his work he achieved, so well done Greg. I also added a camo pattern to them, similar to the above pic using Black Grey. I probably added a little more than what's seen on that vehicle, but that's fine. I found it to be a quite relaxing process and enjoyed doing it none the less.


Here's a look at them together. The front two with areals and three crew will be the two Troop leaders. Moving along, the next picture is taken of some crew that operated one of these, taken somewhere in Holland. In place of the 21st Army Group symbol, I noticed upon closer inspection that they have the Black Rat. Again, I wasn't going to use these, saving them for the Tanks, etc. So the free-hand it was. On the left, the Arm of Service badge is numbered "1191" I tried a few different techniques to paint and write in White this number, but found it far too tedious to achieve. Either coming out too thick or too watery, so in the end I went with a set of Royal Artillery badges that have the numbers in Black. This at least hides what unit it's supposed to represent and I am happy enough with this.


A closer look at the front. The 27 indicates roughly the tonnage of the vehicle as well as to what Bridges it can safely cross. Something I don't think the Germans ever considered and suffered greatly with its much larger, heavier Tanks when needing to cross a lot of old Stone and Wooden Bridges dotted all over Western Europe.


Few different angles to show the camo work and other decals. Again, I used the "T" for Tracked vehicles as I don't have any "S". I have seen pictures with the "T" being used as they are still technically Tracked vehicles. So I guess it's probably fine, but I just work with what I've got and make do.

And finally the names, lol. I decided to name them as I saw many pictures with them having names on them. Again, a bit of a tedious task. This time, I used a White gel pen and for all but one, it worked well enough I think. As it is 'C' Battery, I picked names beginning with "C". Something quite common I believe with Britain at the time.
So from left to right are Crusader, Charles, Crucifix and the two Troop Commanders are Courage and Chariot. I had a little trouble with these two at first - dunno why - but I eventually got Courage down. For some unknown reason, Chariot would not stick.
Initially I wrote the names down, let them dry for a good 15 mins and then very lightly added a dab of Matte Lacquer to protect them. In doing this it stripped the top layer leaving the print on the vehicle making it look like the names were actually pianted on. It came out great. But Chariot wouldn't abide by this, so it's a bit messy, lol.


And with that ends another post of another unit completed.

Monday, 4 March 2024

BBC War Correspondent

Here's something completely pointless.. A BBC War Correspondent. Why? You ask. Why not!? The idea came to me from watching a film called Theirs is the Glory. It's a film set at Arnhem during Operation. Market Garden. It was filmed almost immediately after the war using the men that actually took part in the battle to portray themselves.. You can see in the film the effects the war had on them with Shell Shock and the likes, but what I am here to post about is a chap named Stanley Maxted. He, too, was there, in the thick of it, reporting back to London what the men were suffering through in their fight.

Seeing him and his equipment gave me a few ideas to kitbash something for fun. This was done sometime late last year, when I was in a spot where I had no drive to do any modelling or hobby related stuff. So I figured at least kitbashing one simple guy up might reinvigorate my drive. It sort of did..

To start, I will share one or two pictures that caught my eye. Firstly the equipment. The old recording device and microphone was something he always had with him. So how do I do this?


Relying once more on my spares box, I basically used a Cupola of a Turret that was cut down. A spare wheel and a piece of sprue cut down to size as well. Finally, a thread from a brush for the cable from the mic to the recorder. These were all glued together then painted.


The model is a merger of two separate Infantry types. The head and arms are from a Tank Commander on his radio - this solves the first part. But as you can see, he's with the Airborne, he's wearing their clothing. So I had to very carefully cut up a Para's body so that they aligned perfectly, then glue them. I think it turned out quite well really. He's on the left with the Khaki Beret.


As for the Beret, War Correspondents wore Khaki Berets, apparently. Here he is below, reporting from a foxhole near the Hartenstein Hotel.


As it was just one single model I wanted to work on, it actually all went together pretty well and spurred me on to continue painting. I ended up painting up about six bases worth of Para HQ units, both for the Company and Platoons. They were already waiting to be done, so I figured I should do them all.


He was added to a Platoon Leader's base, as he seemed to be out in the field with the men, rather than with the HQ itself. He doesn't do anything or changes anything about the unit itself. It's just a bit of flavour for the Army, and something that I actually really enjoyed working on and am really happy with how it all turned out.

M-10 17 Pounder

 With that lengthy post done, I will keep this one short and sweet. As stated in other posts, I am also building up an 11th Armoured Division list of sorts. This will interchange with the 4th Armoured Brigade list for some semi-Historical fun. Now, upon a visit to my local hobby shop, I saw for a reasonable price a box of M-10's. The box allows for two variants. The 17 Pounder and the 3-inch. Both are pretty formidable guns in their own right. Knowing Greg fears the static 17 Pounder gun, I figured why not have them mobile and maneuverable? So I purchased the box and set to work on them.

Looking through my Codex, I saw that four 17 Pounders were a little more costly than having four static guns. Given you're paying for mobility, I couldn't bring myself to do this, as the Armour on these vehicles is quite weak. Since the static guns are usually behind cover AND get Gun Shield's they're a bit pesky to pick off, even using H.E. as a good Firepower roll is required. So it was decided. Two 17 Pounders and two 3-inch.

These are Divisional Support, so I didn't feel I needed too many anyway, clogging up what would be a very busy board already, with lots of models all over the place.

These models belong to the 75 Anti-Tank Regiment. As they aren't actually an Armoured unit and are still considered Anti-Tank, they wear their usual Khaki coloured Berets. A little bit of wautism for you there..


The Air Identification Markers are on upside down here. Such is a modellers life...


I must say, given it was only two Tanks and not a whole Troop, I actually really enjoyed painting these up and really took my time with them. Even trying to get a bit of detail on the shells in the turret there. I went for a slightly different Green with these, just so they stand out a bit from the usual core Tanks.

They did take part in the large battle myself and Greg recently had, probably coming under the freshly painted models curse, as they spent most of that game defending an objective, one being bailed out for the majority of it. The other did manage to knock out a Panzer IV HQ though, before both succumbed to Tiger Tanks.. Typical.

Not shown are the 3-inch variants, as they haven't been painted yet. They, too, took part in the battle. I believe one did manage to destroy something, although I can't remember what. But like the 17 Pounders, they were also knocked out.

Stuart Recce

 It's been a little while since I have posted anything, Greg going bananas with his Warhammer shit. I decided I should do something about that at least. A lot of my shit for Flames of War is already built and/or primed ready to be painted. The hard part is actually being bothered to do it. Having had a battle not too long ago that went on for a solid six hours, lasting twelve turns, I was kind of inspired to paint something up after. One of those happened to be my Stuart Recce tanks. I quite like how they play and have them specifically for my wautistic Army I want to build up, so let's get into that...

As stated, I have a desire to build up a very specific British Armoured list that's tailored to a Historical unit - that being the 44 Royal Tank Regiment. Having had a relative serve with that unit and having documentation, pictures and other interesting bits of information on them, it all drives my wautism hard and is somewhat personal to me.

The unit itself fought from Operation. Crusader in N.Africa under 1st Army Tank Brigade supporting the Indian Troops at the Sidi Fortifications and the New Zealanders over at Belhamed fighting in the famous Matlida Mk.II's. Thereafter they were refitted with the new Valentine Tanks for the fighting at Gazala known as the "Cauldron". Here along with 50 Infantry Division they were nearly completely encircled and annihilated, but they managed to pull out to fight again. They eventually were refitted with the new Sherman II's coming through for El-Alamein where they supported the Australians - these Tanks they would take with them for the rest of the war.

They refitted after El Alamein then sat out the rest of the African Campaign where they now would be detached from 1ATB and attached to 4th Armoured Brigade with whom they would serve with for the rest of the war. This constituted of 44 RTR, 4 Royal Horse Artillery (mobile) and 'B' Company, Kings Royal Rifle Corps. They served mainly in support of 11th Armoured Division, but also acted independently if and when needed.

They took part in the fighting in Sicily and Italy before being pulled from the line to rest, refit and train for Normandy. There they fought through the grueling battles around Caen against some of Germany's finest Armoured units deployed to Normandy, specifically around Hill.112. Took part in the breakout to Falaise before rushing up to Belgium where the Germans bogged an out-stretched British line. This, sadly, was where my relative was K.I.A. Having fought all this way. they then drove on through to Holland to support the 101st Airborne Division in Operation. Market Garden. Again, getting bogged down. Then being pulled from the line once more, trained up in D.D. warfare to cross the Rhine and through into the heart of Germany itself.

This is all very exciting for me as a bit of a WW2 enthusiast and allows me to build a very nice list to play for Flames of War, one that's both quite flexible and allows me to cover almost any major battle or period for Late War.


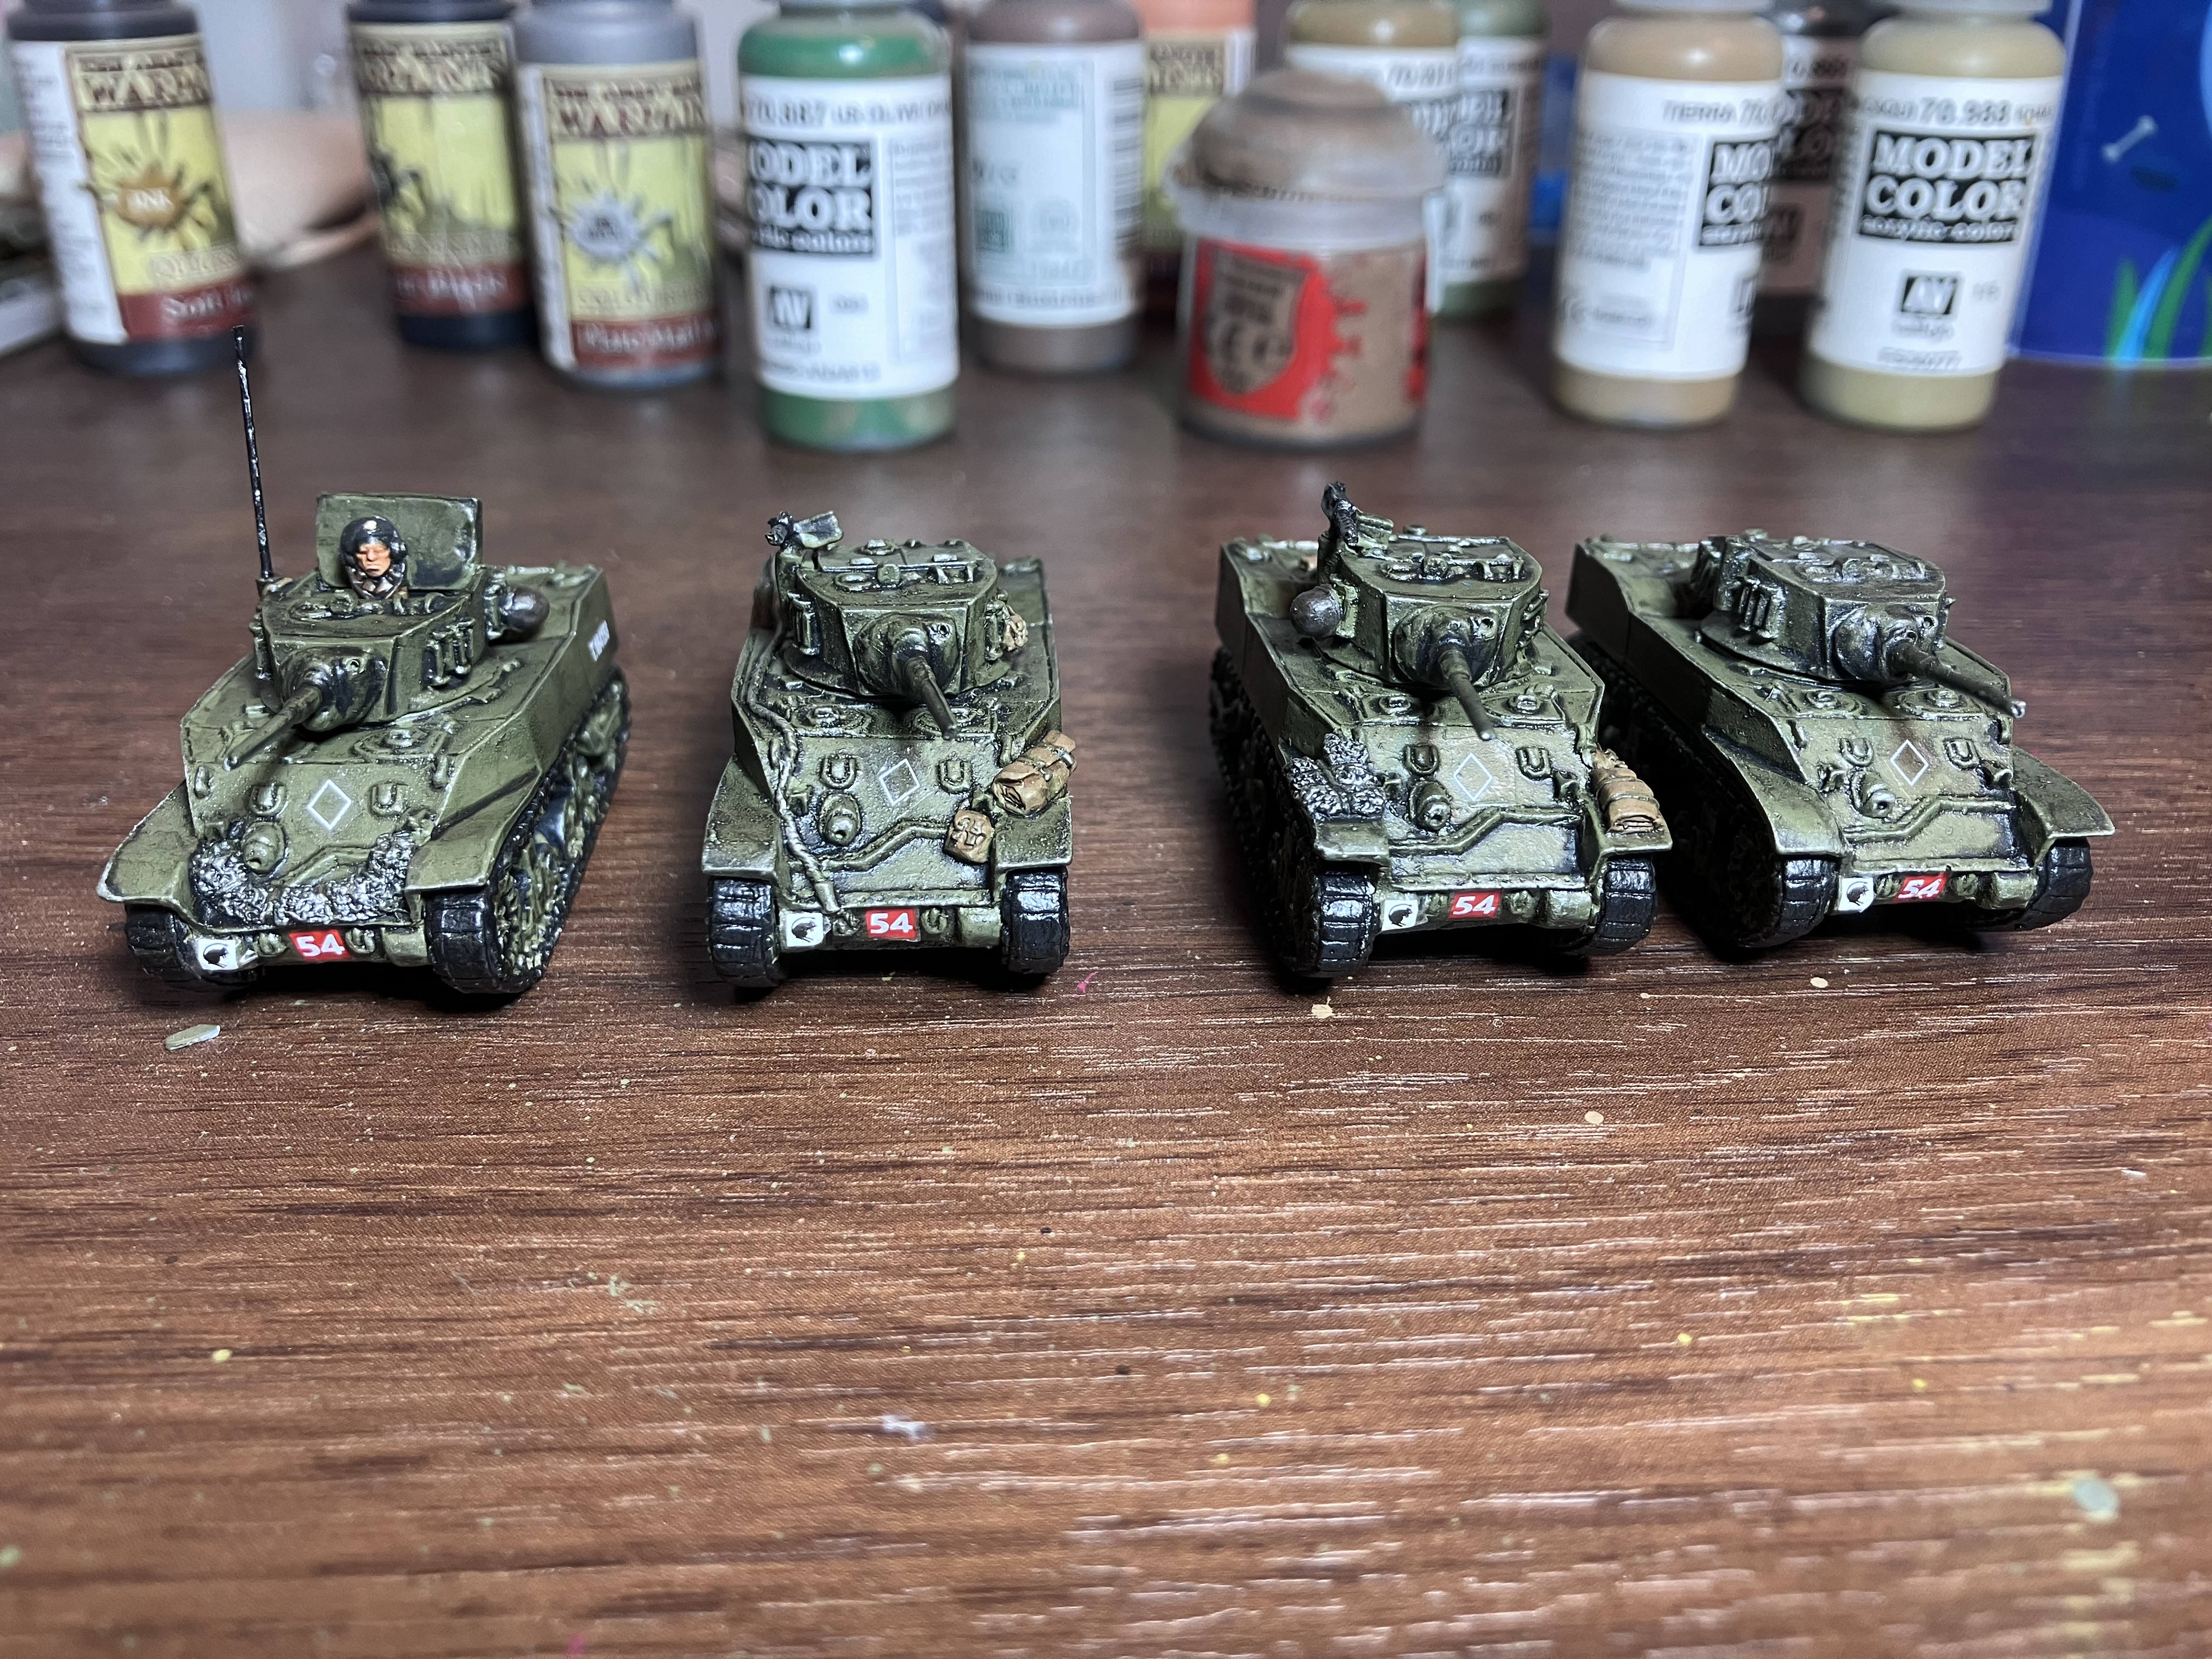
The famous Black Rats Jerboa decals for some reason are not actually supplied by Battlefront themselves, so I had to source these elsewhere at a bit of a premium. I am pretty happy with them, despite the transfer sheet itself being rather large so I learned quickly that cutting them up I have to be very precise with them so they will fit and stick to the intended model. As they are Recce, they carry the White Diamond to denote this.
As for painting them, nothing much to add out of the ordinary other than my wash coming out of the bottle quite thick and splodgy. A lot of watering down didn't help much, but I quite like the grimy look of them, as I imagine they are out scurrying around ahead of the main force behind them reporting enemy positions back to said main force - some historical pictures will follow too, because wautism...
I did decide on a metallic dry-brush this time, rather than the usual lighter tone of Green, something I feel works really well to sell the worn, well used look - although probably not carried over too well in the pictures..


I wasn't too sure what the things on the front of two of the tanks were and thought for some reason that it was a metal mesh, lol.. Turns out that it's probably a camo netting/tarp cover. Oh well.. It's metal mesh now.. Speaking of metal, the models are the old BF metal minis. Nice and heavy, but a bit wonky and wobbly.. Painting them was a bit of a pain in some areas as the paint wouldn't go into the poor molds and I wasn't going to do any more than what was absolutely necessary. But that's fine.

Digging around, I managed to track down some Historical footage of the Regiment and used this for both information and inspiration. Below is a Stuart passing through Norrey-en-Bessin, North of Cheux. On the right you can see the number 124. This denotes the seniority or position within the Brigade. 4 being Junior. Now I don't actually have this number as decals and I couldn't be fucked free-handing it, so I used the BF LW Normandy decals and put 54 in place of, which also works. As some of the decals are a little too large or the Tank molds have details on them, I decided to omit placing them on the rear of the models, instead having them only on the front.


Here's one driving along in a field.


Now the old kits contain five Tanks, but I can field no more than four, so I decided to convert one into a mini-diorama-objective marker, because why not? So here that is..


Using some of the spare Plastic Soldier Company Infantry, I decided to add them to the base to give it a little bit of life. I've assumed the Tank has come to a halt as it's out of fuel - which is why the guy on top is quickly filling her up using a Jerry Can. He was mashed up from two separate Infantry guys, but it does the job well enough for me. The other guy sat there is resting and pointing something out for his Commander to have a look at, who's already scanning in that general direction anyway. For some reason he comes with no feet, but that's ok for me. He's sunken in the mud and grass.


With this Tank, I decided not to use any decals to both save them for other Tanks I will use in my wautistic Army and to keep this as a generic obj. marker that can be used, much like the Tiger Tank one I made. And with that, I am very happy to have both completed another set of vehicles in my force and to say I have finally made something for my 44 RTR Army..

Saturday, 24 February 2024

Old World Damsel.

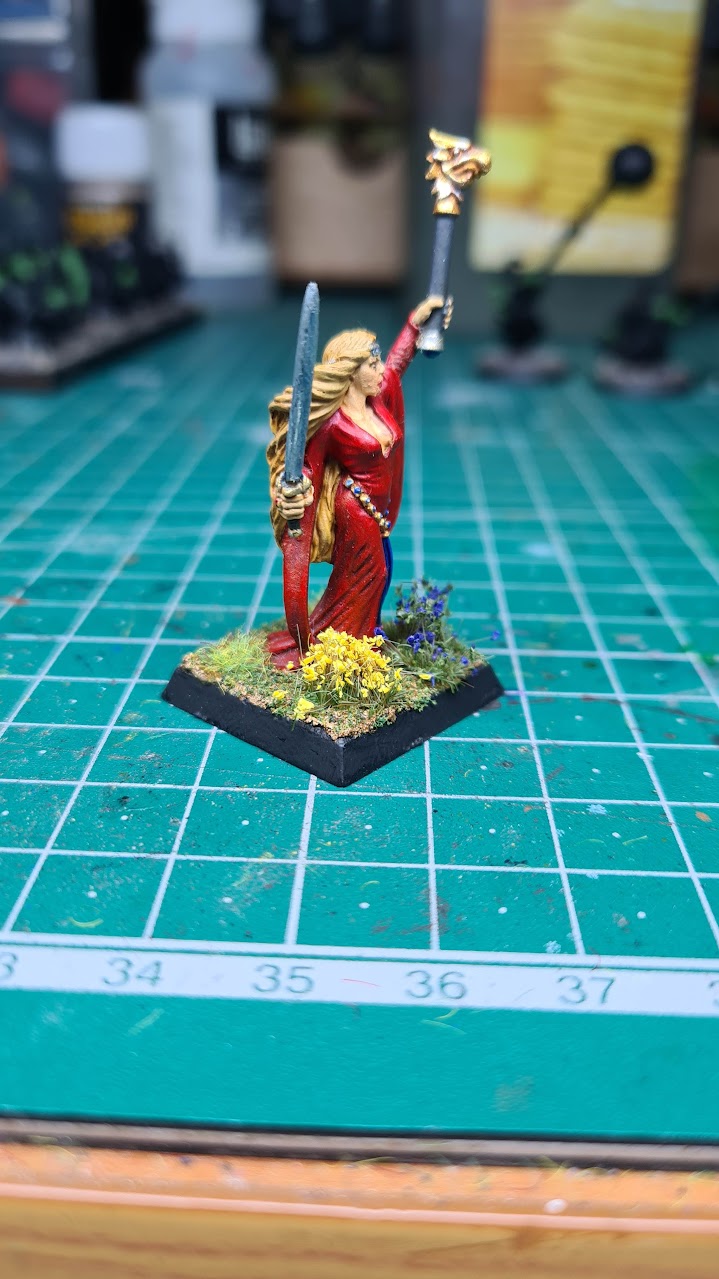
Today while working on a fresh batch of Night Goblin Archers, I decided to rebase an old Bretonnian Damsel model I painted up some time ago. The new Warhammer edition upgrades a lot of the bases sizes, making them bigger than before. They decided upon this to help with ranking up, since a lot of their models jutted up against each other with limbs and weapons getting in the way.


So the Damsel herself is originally on a 20mm square base, and instead of treating the Bretonnian army much in the same way as my Orcs and Goblins, with adapter movement trays, I'm going to base them according to their profiles in the old world. With this, I have the opportunity to base them differently to how I usually base my green skins, and as such I've opted for a more natural and vibrant method to basing.


To start with, I use textured paint for the base itself, specifically Vallejo Brown Earth Diorama Effect. Once dry, I dry brush Citadel Dry Eldar Flesh to add some texture to the base, followed by a wash of Citadel Seraphim Sepia. The Base itself looked quite brown, and I though it would be good to add some green, but instead of doing with a wash or paint, I decided to use some old flock I still have in a tub called Woodland Scenic Blended Turf - Green Blend. Sparingly all over the base I coat it, so that the brown still shows through the gaps.


To complete the base, I pulled out some new flower tufts I bought, and added two to the front of the base, and some regular grass tufts to the back. A quick black on the rim and now she looks ready to fight off some Orcs and Goblins.


This is the start of my Bretonnia list I have planned. Knights, peasants, pegasi and even a trebuchet.

Grimgore and Da Immortulz.


I've managed to complete a large unit of Black Orcs along with a Black Orc Boss and Grimgore Ironhide himself, for the upcoming games of Warhammer the Old World. The models are all metal models, from back in the mid 2000s, and I've had them for over ten years now. Finally painted them, and I had a lot of fun getting them ready for the table top.

Grimgore Ironhide.

His weapon Gitsnik.

I started off by basing them with sand and throwing a smooth coat of Chaos Black Spray. I then used the Citadel Dry Necron Compound to drybrush the model entirely. This step was a quick shortcut to get the silver done on the models, as most of it is plate mail.

First step.

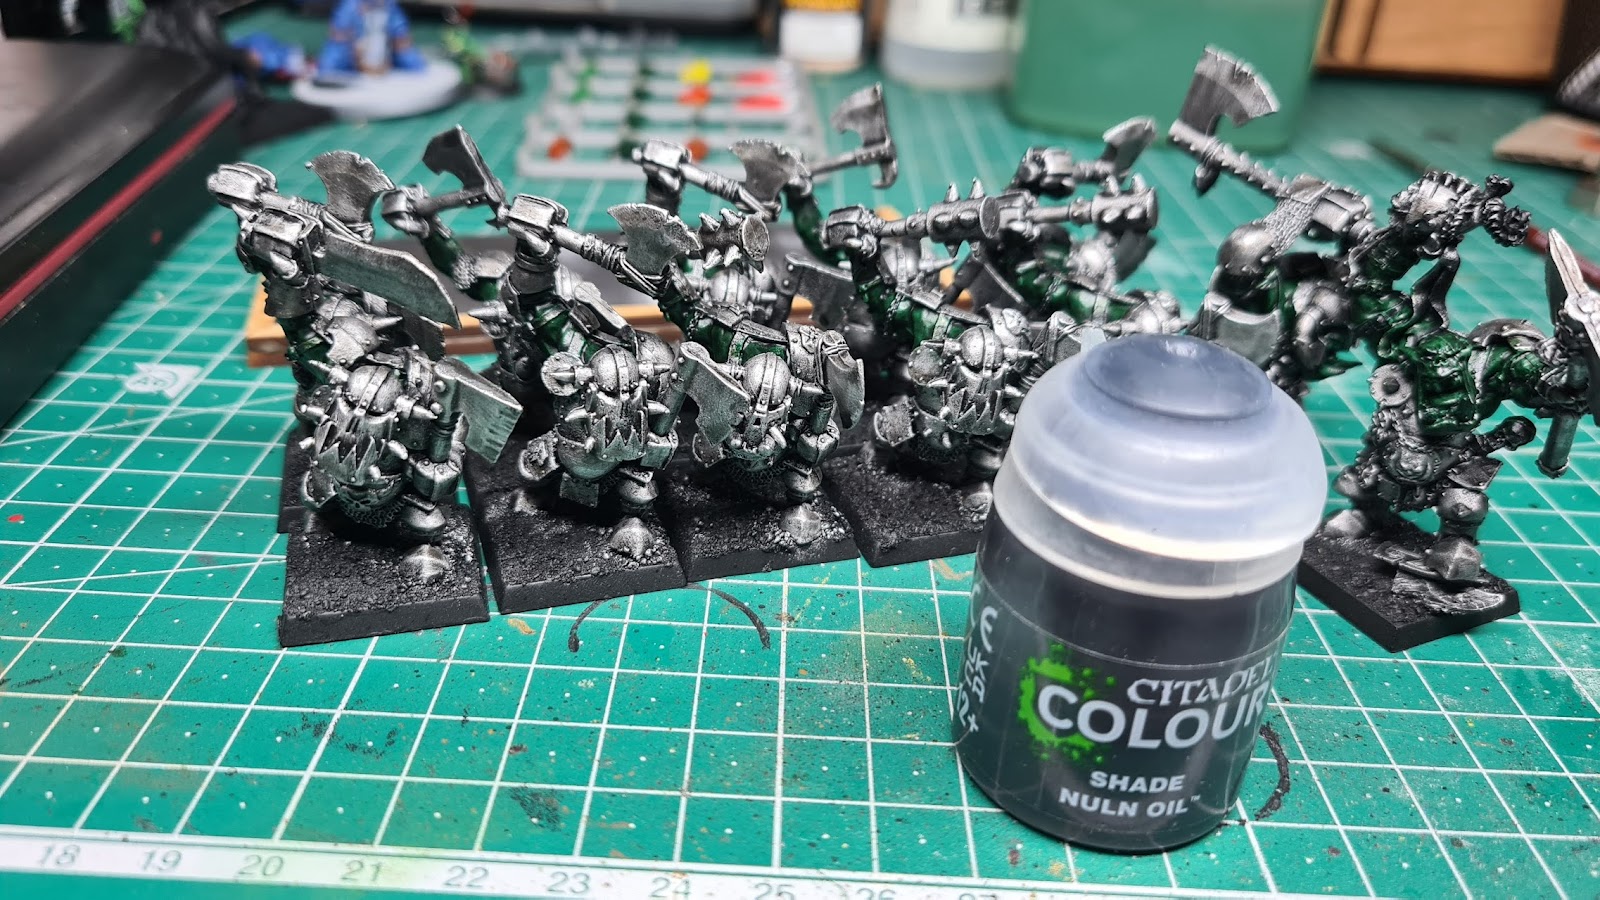
I then messed around with the green, settling on Vallejo Deep Green as the base coat for the flesh, but afterwards trying out various combinations of washes and contrast paints to try and get the right tone of the darker skin of the Black Orcs. In the end, I settled with a wash of Nuln Oil and a second wash of Biel Tan Green.

Experimentations.

The result felt too dark.

Reworking of the skin afterwards.

Second wash.

I then worked on separating the steel plates by making some of them black, and using Contrast Black Templar, it worked really well, and applied really easily. It is easily one of my favourite Contrast paints. Once that was done, it was time to do all the straps, horns, teeth and gold pieces with Vallejo Beige Brown. During this stage, I changed my mind with the skin and redid it to what I eventually settled on, seeing it look too dark with the black plates along side it. A bit of red to put into the character models mouth was used, but that was all that was needed until later on when I used it for the banner that would come in later on.

Dark skin and dark plates made them look too dark.

Chevron work on the armour.

The chevrons were done with Vallejo Off White and Cold White, both of which required two bases to cover well enough. Then a bit of black to help repair the lines and clean up any mistakes make. This was fairly difficult to make look neat, but I managed it enough to look good enough.

Bit of wear and tear.

Vallejo Oily Steel is used to create chipping and wear on the black plates, and to clean up any mistakes on the armour from the other colours. During this time, I also decided to mix up a small container of Dryad Bark, and I managed to figure out the formula for it the second time I made it. Dryad Bark is used to basecoat the base and is a colour I am always using. I've gone through at least 3 pots so far, and instead of buying some more, I thought I would try mixing up my own.

2 parts dark brown
1 part grey
1 part black.

During this stage, my second set of ten black orcs came in with the command models, and so had to start working on them while the first ten were still in the painting process. However this made it easier to work on the second ten, since I've managed to get the process refined well enough that I wasn't guessing anymore, and kept me interested in the paint job as I also worked on completing the first ten, trying out what needed doing on them.

More Black Orcs!

Another way I was also keeping myself motivated with the hobby was by working on some of the new movement trays I had got specifically for the old world. These movement trays are adapted for the old world, but fit the smaller bases of older editions of Warhammer. I decided that it was high time I also painted the movement trays going forward, to make the models look nicer when slotted in.

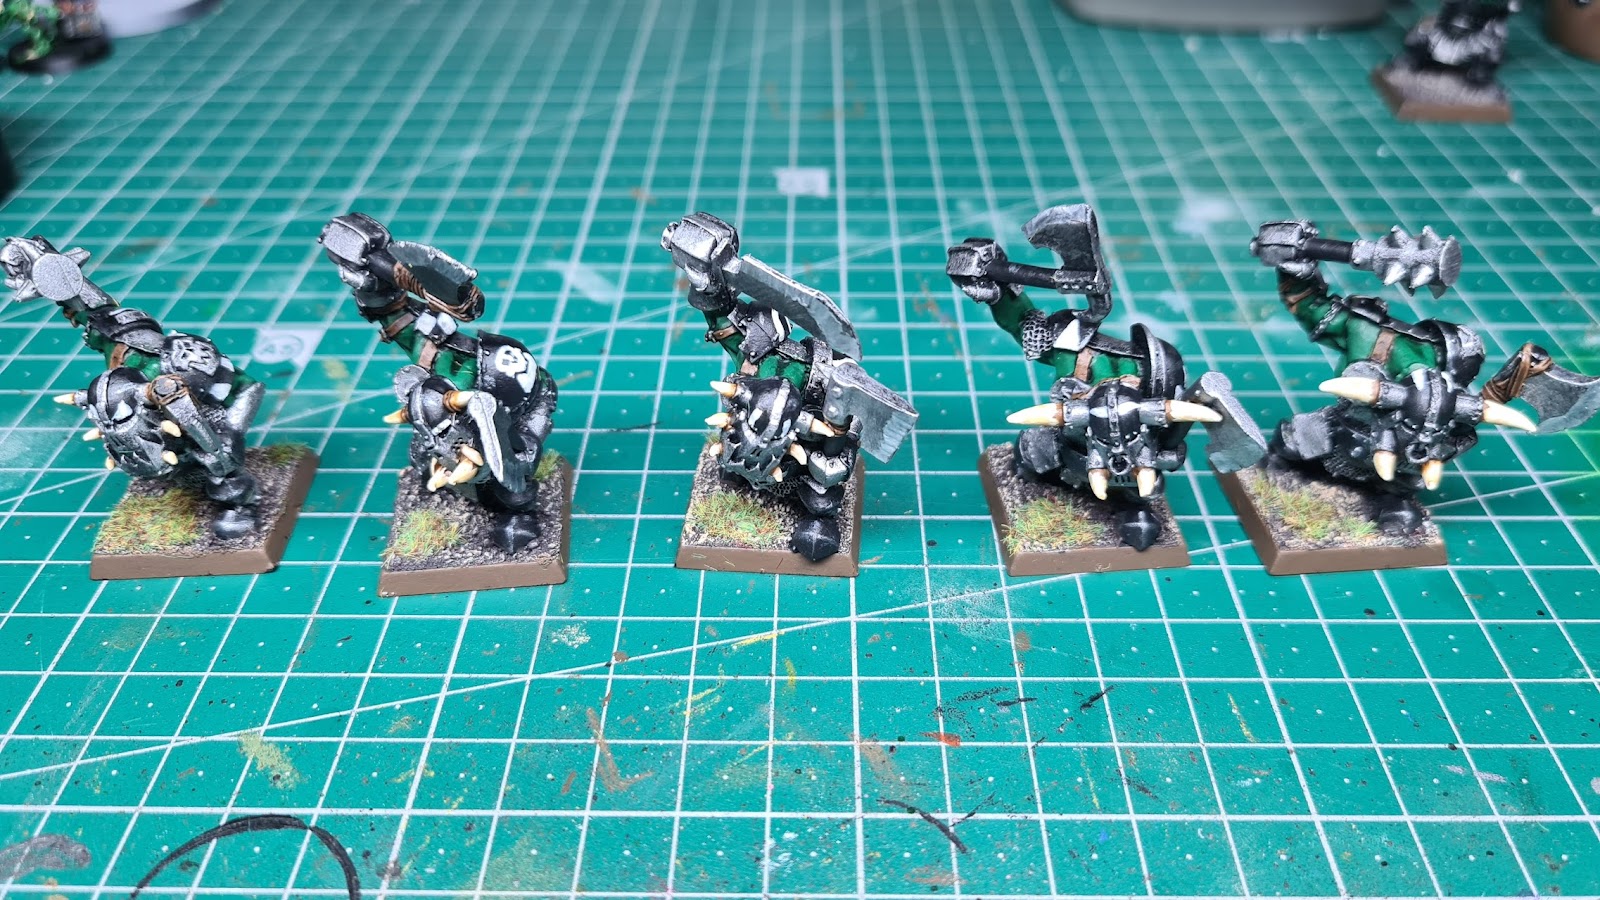
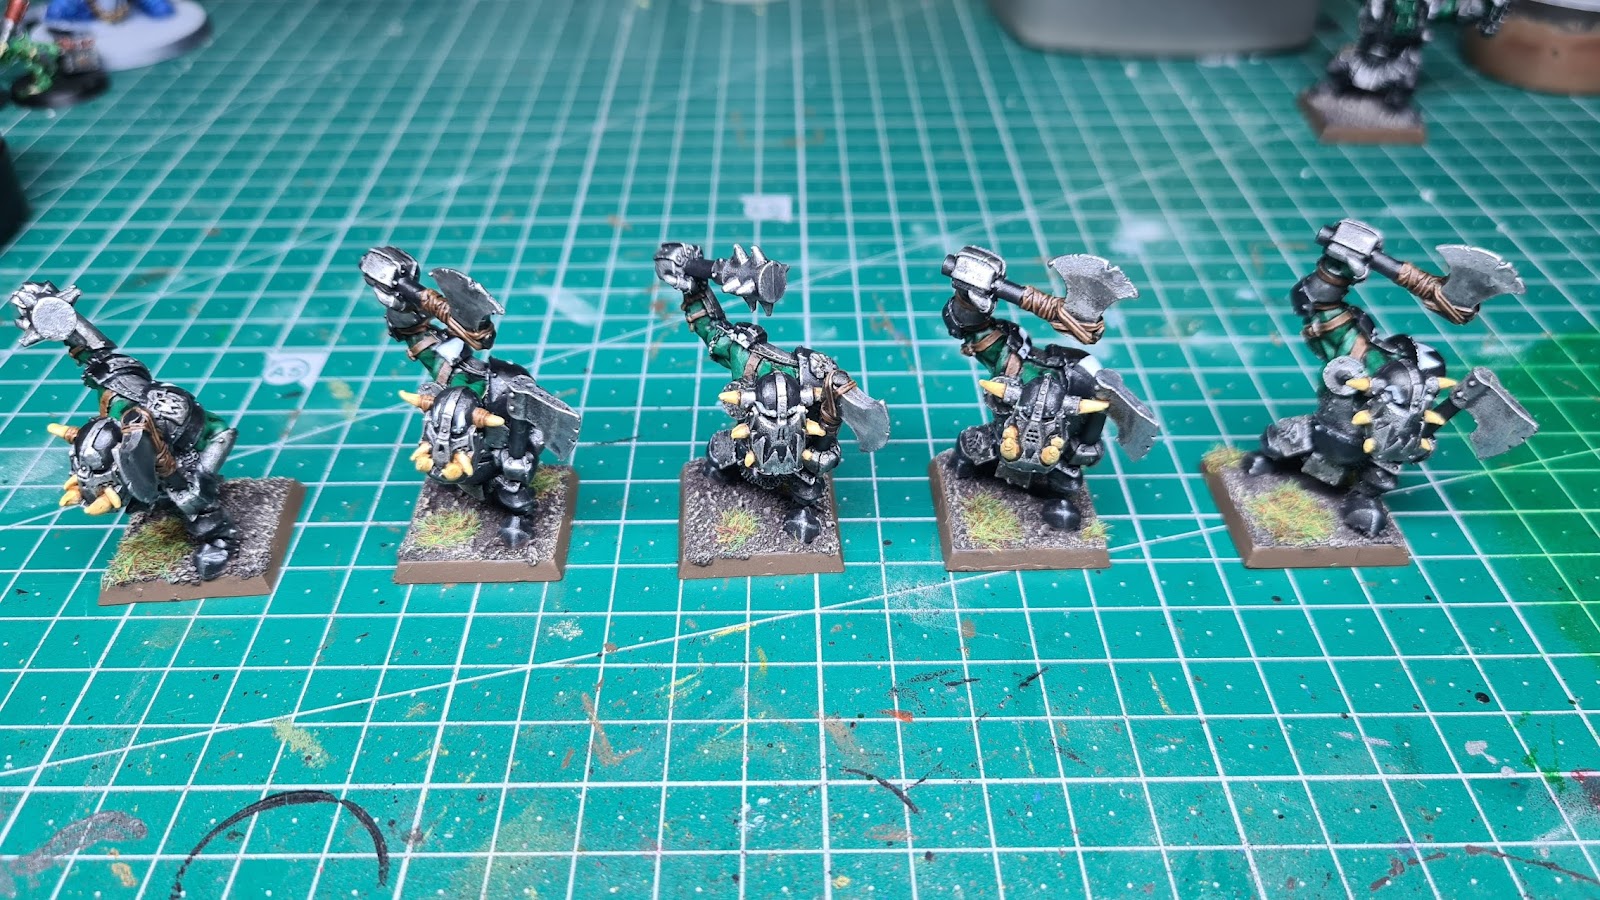
20 Orcs with two hand weapons.

Dem Feet.

New and Old.

Difference in size. They fit together too!

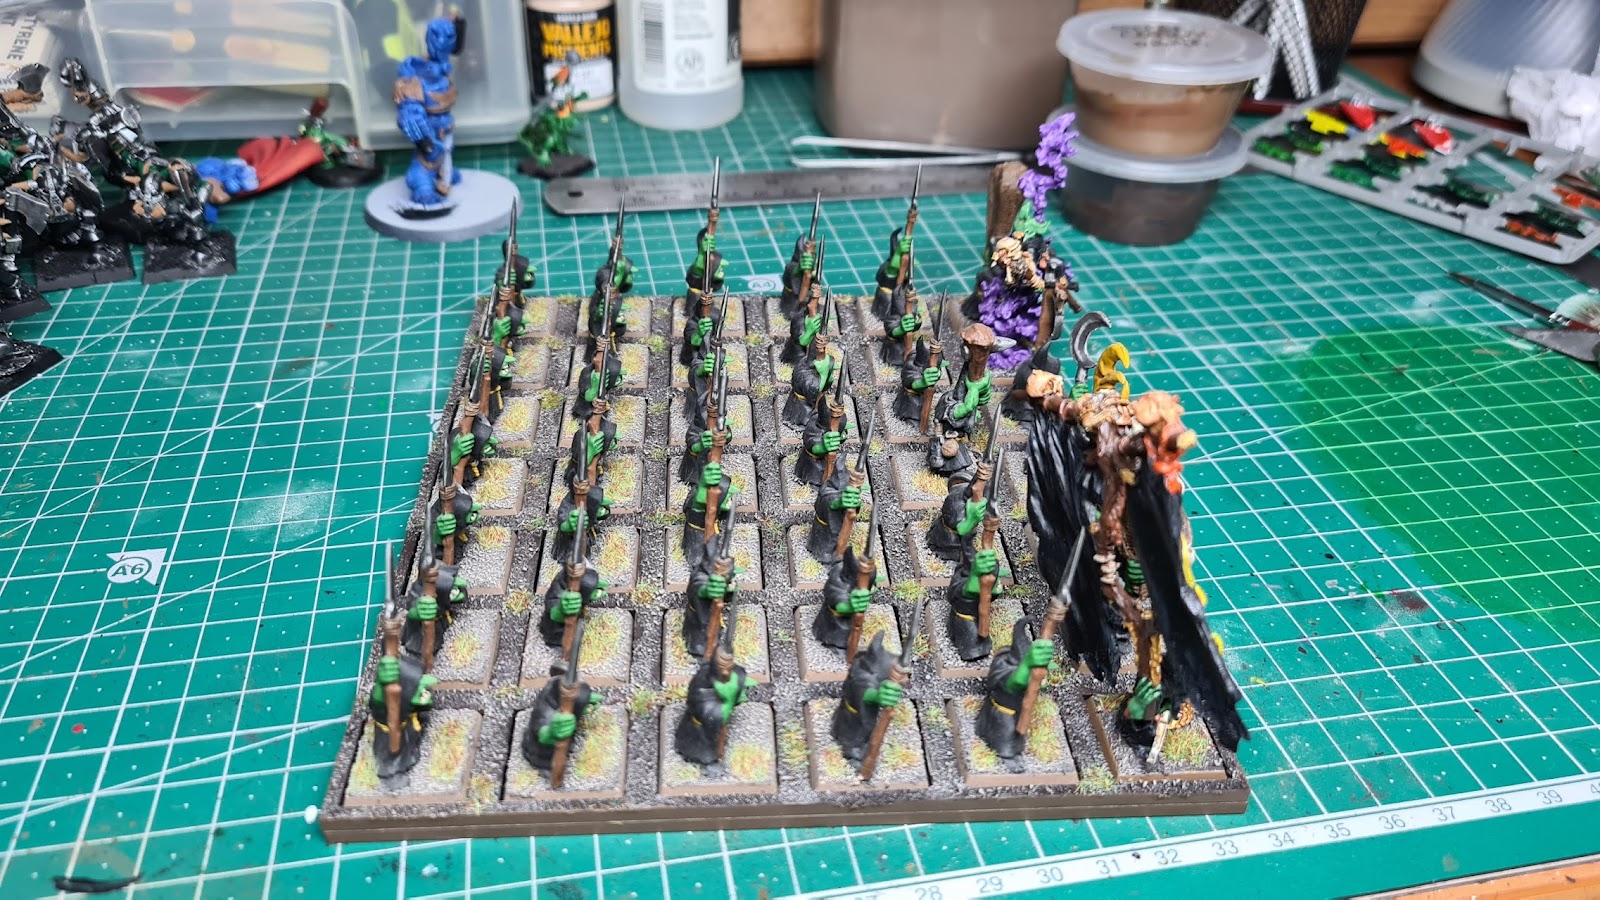
Big unit of Night Goblins with BSB and Shaman.

7 wide by 6 deep.

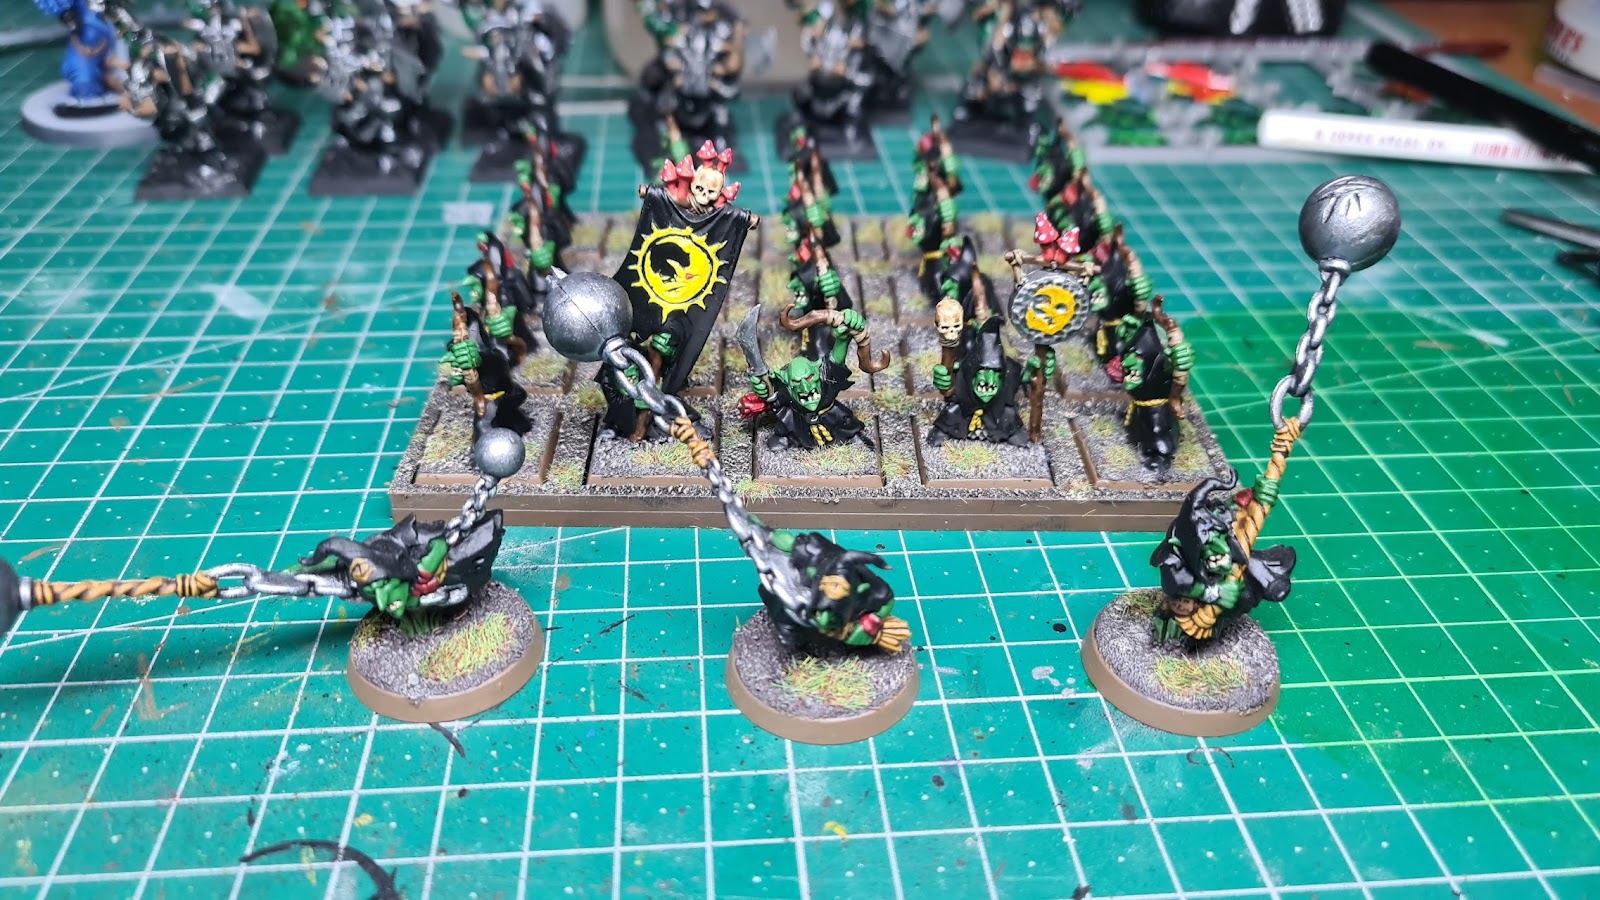
Smaller Archer unit with fanatics.

Savage Orc Boar Boyz.

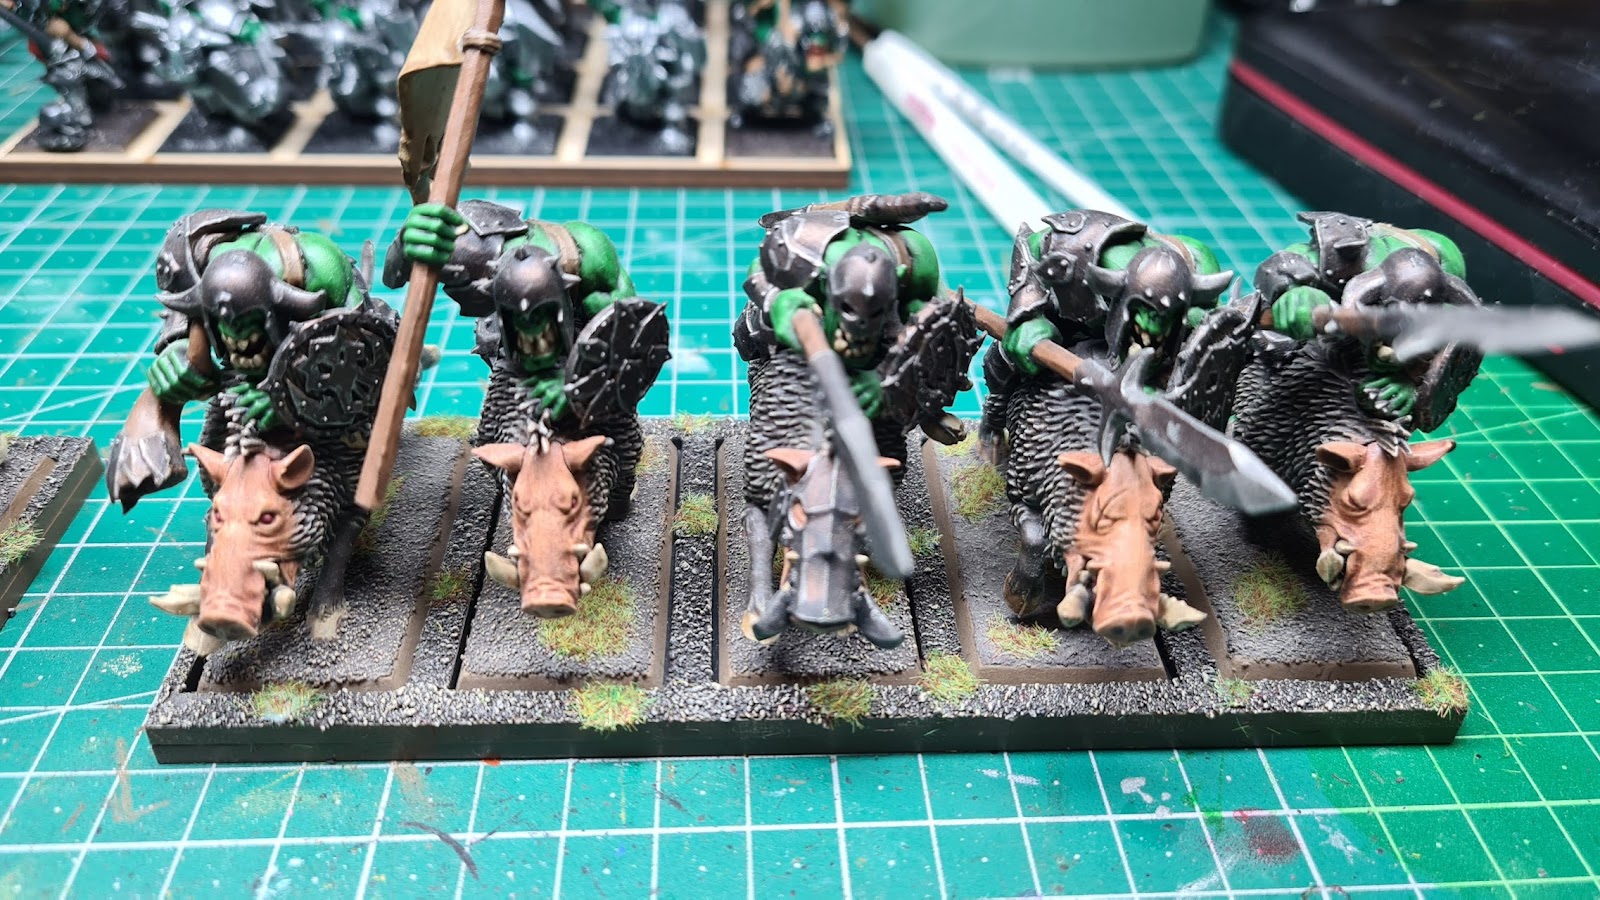
Orc Boar Boyz.

It wasn't long before I was finishing off the first ten Black Orcs, and of course I forgot to take anymore pictures of it, but it wasn't much more left to go on them anyway, so I will summarise. Firstly I painted Vallejo Ivory on any of the bones and horns and teeth, and the washed them with Citadel Seraphim Sepia. This gave them all a yellowish tinge while shading them. Any of the straps and bronze was washed Agarax Earthshade. The bases were dry brushed Citadel Dry Eldar Flesh and a bit of grass was added to them, with the rim done in the usual Steel Legion Drab.

Games Day Black Orc.

Big Choppa!

Front Rank!

Second Rank!

Third Rank!

Fourth Rank!

On the march.

Something the enemy will never see!

Waaaggh!

I've still got some more models I'm planning to add to this regiment, Borgut Facebeater is an old model from around the same time these models, and I plan to use him as the unit champion. Another three models I plan to add are still in the mail, but they are the same type of models from the same time period, but they are equipped with great weapons instead of two weapons. I plan to use them in the front rank whenever I want to use them with great weapons in the game. All up it will be a large unit of twenty-four with two character models that I can use as champions depending on the loadout, and Grimgore himself as a warlord/big boss proxy for the old world, or as himself in previous editions.

Until next time!

A Small Update

 Riding on the back of the Panther Tanks, I decided to continue the hobby drive, sit down and paint something else.  This post will be short...