Saturday, 7 January 2023

Normandy Farmstead

Looking at numerous pictures and maps online, often do I see some kind of Farmstead within tall walls, creating a miniature compound which looks fun to design and build, and probably easily defendable with men and guns. I decided to try design one myself and I was very happy with how it turned out.

Using up the remaining bits of Balsa wood, I made some walls, carving in bricks to look like a section of wall. A bit tedious, but it paid off..


Now the house is one of the pre-built houses Greg bought in a set online some time ago, but the Barn I built from scratch from other bits of wood lying around. I wasn't too happy with how it turned out, as it looked more like an American Barn than it did of one from Medieval Normandy.

To work around this, I asked my French friend for some tips and ideas, and using some pics for reference, I re-designed the thing from scratch, using the same technique as the walls.


Some windows were added with shutters and a loft - though not functional in any way, adds a little bit of detail at least. For the tiling, I bought a pack of textured plastic from my local Hobby Shop and cut it up. Again, a bit tedious, but it did pay off..


Next was the garden. This was made using bits of gravel to make a garden bed, some mud texture and bits of flock I have. To make some tall crops, I have some cheap plastic plant things I bought from a $1 shop and added a stick to it. Finally, using bits of tissue paper cut and glued together, I made some Cabbages.


Now all's that was left to be done was to stick it all together and paint it up. I applied some fake moss I found at some Hobby shop for more detail to the walls.


Some men seek refuge in the Farmstead as they carry the wounded whilst under Artillery Fire..

17 Pounders and Tobruk Pits

 This time I went ahead and finished off my 17 Pounders that were sat, waiting to be painted for at least 5 years... They were bought to compliment my British Para Company Greg made me some years back. They were primered and left alone, which I decided to fix..


I was very happy with how they turned out. They were painted up following Pete the Wargamer's guide and I couldn't be more impressed. They went into battle, freshly painted, holding off a Troop of Tiger tanks for the whole game. Trapped down a narrow lane, with little room to manoeuvre, they made short work of the pesky beasts, grinding the advance to a halt, which is saying something, as they usually do sod all anyway, and I feared the dreaded curse of newly painted models...


 Here they are watching the lane, covered in some hedges, keeping a sharp eye on the advancing beasts. Two were soon knocked out, causing the third to back up and retire to fight another day.

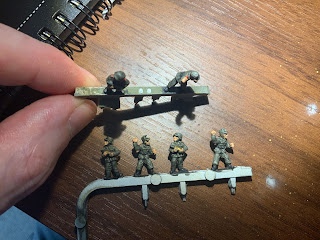
For the Tobruk Pits I put together some spare Tank Turrets I had, with some spare German MG crew. I wanted to build them as we didn't have any, I couldn't be arsed buying any, and I had an idea for them for a Mid-War Scenario I wanted to design - I eventually couldn't be arsed and never did, but they are built and can be used in the future.


Although the bases aren't correct, I'm not fussed. They came out well enough for me. They can be identified easily enough and if they're used in games between myself and Greg then it doesn't matter too much as long as we know what they are.

Stuka and BF109

 Once again, as a part of a gift for Greg, I put together some Zvezda 1:144 planes. Being very impressed by them with my Hurricane's I put together for my own force, I built him a Stuka and BF-109. To paint them up, I tried to add patterns based on pictures I saw online, using tape to create the nice sharp edges. I think they came out well enough.


I accidentally applied the Decals the wrong way round, the larger ones should be underneath, but oh well.. So far it has been used in one Mid-War Battle we've had and to devastating effect too.. It managed to appear from out of the Sun itself to get the swoop upon my daring British Armoured columns trying to race across the Desert. My own Anti-Aircraft crews completely stunned, remaining pinned to the ground and shook up for an entire battle, whilst they swarmed in the skies above, picking off Tanks one-by-one.


Finally, here is the BF-109. This one was a little bit awkward to paint as both the Grey and Yellow were both crap paints. They didn't apply nicely at all. The same technique with the tape was applied to split the colour in the fuselage.


Gifts for Greg

 A year or two ago I built some models for Greg for his birthday. Wanting to add a little variety to his ever-growing Late War Army for Flames of War, I went ahead with a few Self-Propelled (SP) Guns. To start, I went with the bigger, more powerful Hummel


I dug up a few pictures online of Hummels in North Western Europe for ideas on how to paint them up and went with that. They are quite a nice model to handle due to their weight, being metal and resin - which is an absolute pain in the arse to put together - they feel very nice to hold.


Quite easy to paint up, although I went a little heavy on the application - something I learned from and applied differently using another technique on later models. I went for detail with these models. They belong to a Motorised Artillery unit, so they have Red Epaulettes to denote this. Interestingly, and I didn't know this until coming across a video randomly online about it one day, the Red/White sticks on the back - which were a bit fiddly to paint up - are measuring sticks for the Artillerymen. They are used for height and deviation when ranging in on a location.

Here's a nifty little action shot for the folks back home, courtesy of Die Deutsche Wochenschau!


For the second lot of models, I went with a vehicle that technically wasn't a fighting vehicle. Rather, it was used to transport weapons, such as the Panzerschreck, so Troops wouldn't have to lug them around everywhere. They were captured British transport vehicles that were repurposed into the German Army.


Once again, I had applied the patterns a little too heavily, but the wash brought them down a touch. They were built using spare German crew and some old Bren Carrier models from Battlefront. The pipe looking things on top are meant to be a Panzerschreck - as I didn't have any, so they are represented by cut up skewer sticks. Finally, I used a piece of 17 pounder barrel and the tip of a machine gun. These are spare rockets, just for detail.

Technically they are not a legal unit in our Flames of War game, but I thought up some house-rules for them and designed a unit card for them, so Greg could run them in a force just for a bit of fun. 


Here's a pic of both the Hummels and Brens together.


Finally, I put together another type of Mobile Artillery unit. This time it was the smaller, and probably more widely used Wespe. It's essentially the same as the Hummel, however, I had applied the paint a little differently. Instead of applying directly, I used a drybrushing - dabbing technique. I think it came out much nicer, and the wash and highlights really bring it all together.


Again, going for some sort of authenticity, I added coloured Epaulettes, however, the numbers added with the Decals don't denote any particular unit. Rather, they are numbered just for ease of identifying the model in game.

Friday, 6 January 2023

Ham and Jam

 To shut Greg up as he keeps spamming me about updating the Blog, I will make a few posts on previously completed projects. Since my last post here I have slowly put together new bits of terrain or completed some minis for our armies.

To start, I would like to share two bridges I made out of bits of balsa and mdf wood. The inspiration was for the huge steel structure over the Caen Canal, known mainly as "Pegasus Bridge". The second, lesser known stone Bridge over the Orne River. They were two key objectives for the Allied Operations on June 6, 1944.

British Parachute Glider Infantry were tasked with capturing and holding both Bridges until the Beach Landings commenced and could move further in-land to link up with the Bridges allowing them to press further afield. Dubbed "Ham" and "Jam" they were hit sometime in the early hours of June 6 by about two Companies worth of men. Taken fairly quickly, with light casualties, they surprised the German Garrisons holding the Bridges, but faced numerous Counter-Attacks during the day by better equipped German Troops.

Here are a few pictures of the Caen Canal Bridge being built and painted. It isn't completely accurate, given limited tools and materials and simplifying design for ease of use in game, but overall I was very happy with how it turned out and felt it looked very nice on the table.


For it to work as a Bridge, however, it needed to sit over a Canal.. Given the table we play on is flat, this seemed to be a bit of a challenge to do as the Canals themselves have embankments and the sorts. To circumnavigate this I simply scratch built some pieces of River using strips of card and tissue papier-mâché. Glued together, painted and flocked, they did the job well enough for me.


Above are two pictures of the River pieces being tested for size against the two Bridges. Happy with the measurements, I went ahead with painting them up as seen below.


Finally, once completed, they were laid out for a battle on the table. 


Thursday, 5 January 2023

Different colours for different knights of Brettonia.


Two new knights to go with the one in the middle.

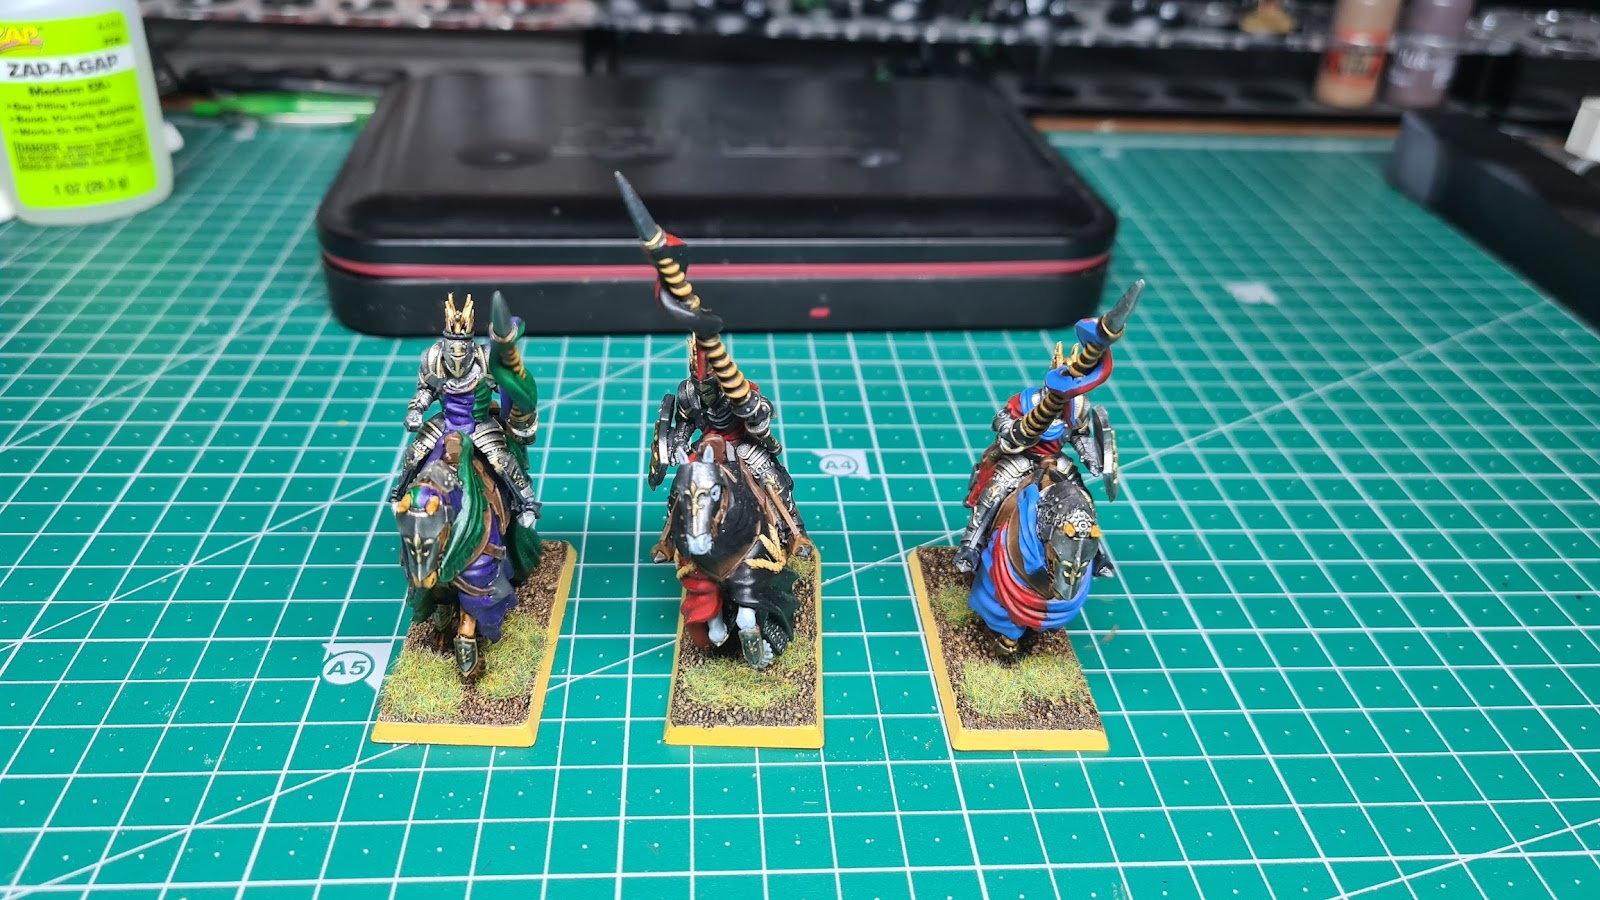
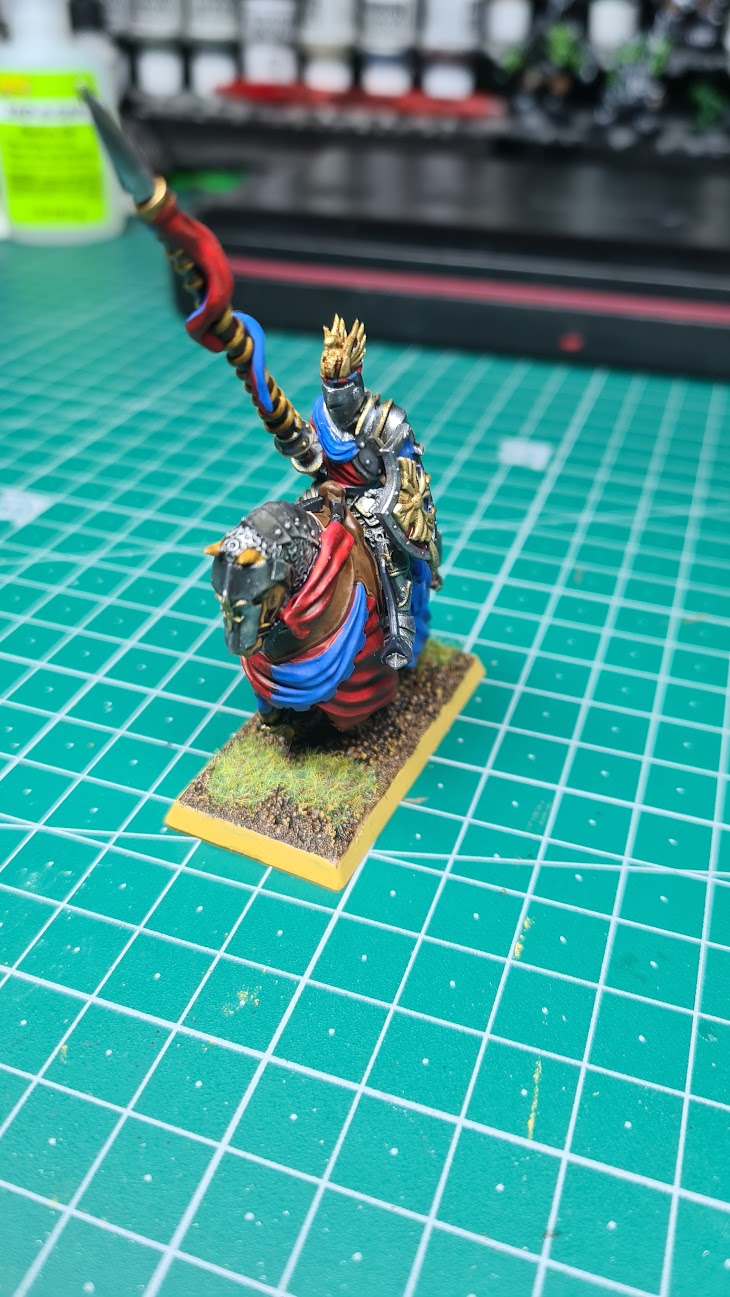
I previously showed off a Brettonian Knight alongside a Goblin Wolf Rider hero on here some time ago and the knight was simply the beginning of a regiment I intended to paint up for Warhammer Fantasy. They were purely painted as a distraction from painting in an assembly line method that I was doing at the time, which can burn me out quite easily from partaking in the painting hobby. After I completed the black and red knight, I decided I was going to paint the rest of the regiment of ten in a similar fashion, one at a time, but with different colour schemes for each one.

One without a shield, he probably left it behind or lost it.

Of course that idea immediately went out the window when I decided to begin working on my next knight, having decided that I'd like to get them painted quicker than it looked like it would take me. I decided to increase it to painting two of them at once, which I felt was a tentative step in painting the knights, while also painting other miniatures while also working on these miniatures.

Green and Purple, Green and Purple, Green and Purple.
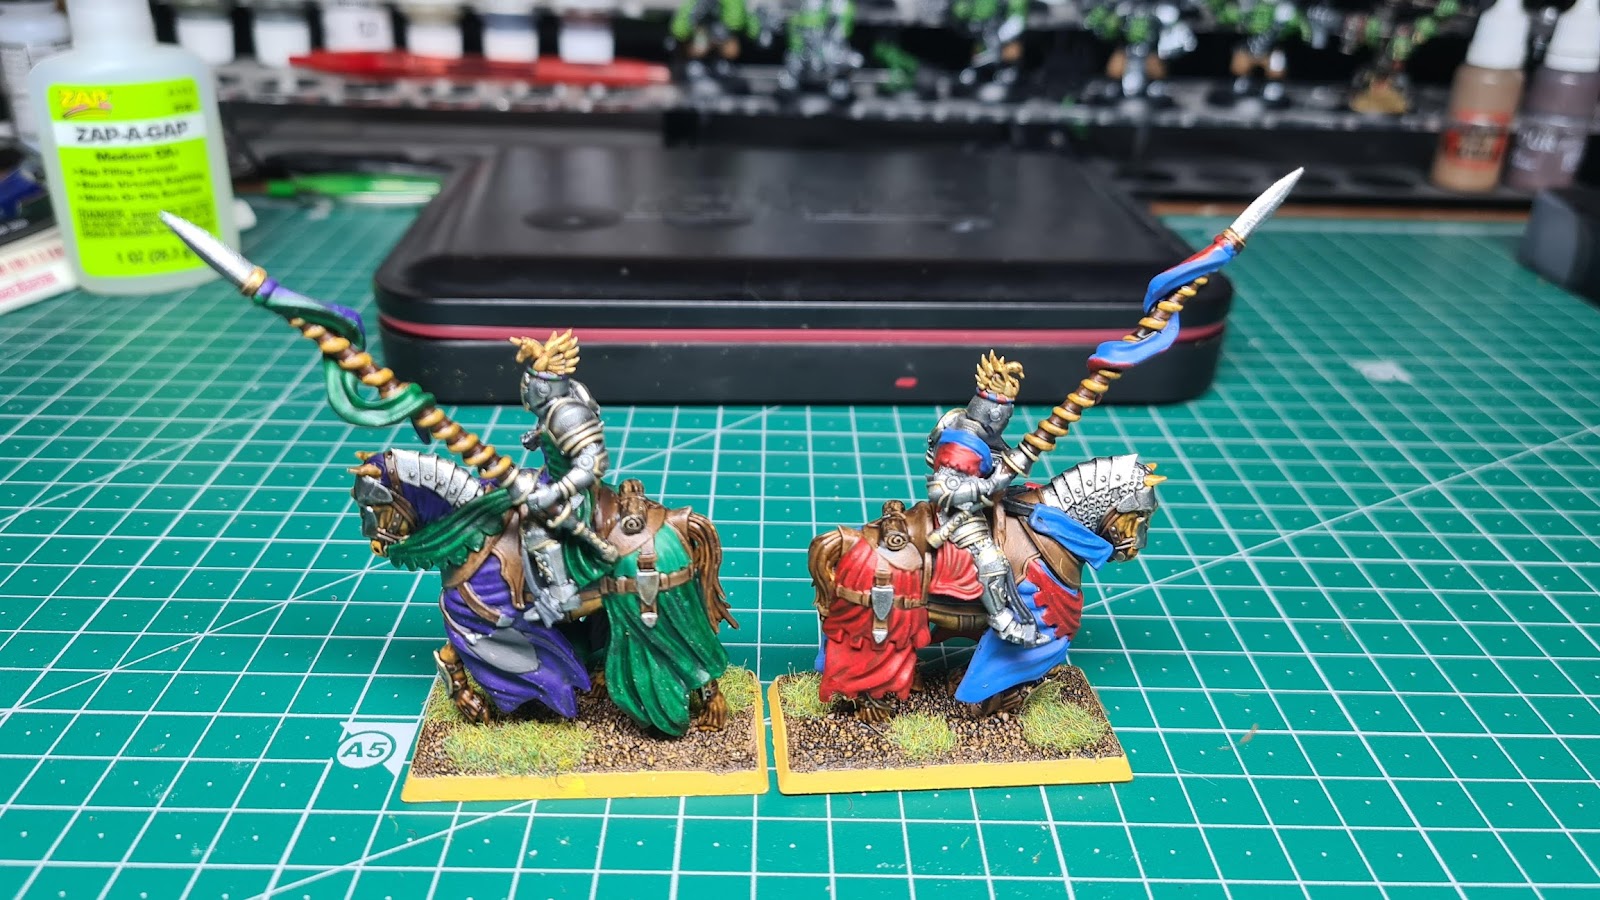
Red Vs Blue.

So I asked Joe what colours I should paint these two knights, and he responded immediately with green and purple. Of course I agreed, knowing that those two colours were going to be a used eventually if he had not chosen them, but for it to be his first colour choice  made me chuckle. Needing two colour schemes, he decided on red and blue as the second choice, possibly being a classic Brettonian colour scheme, or just red and blue being a nice colour scheme in general.

Getting ready for a joust.

Charging each other.

One of the knights doesn't come with a shield, not being part of the kit I bought off eBay a while ago from a 3d printing company, and I did think before I worked on these miniatures that I should find some shields and attach them. However when I ranked up all ten of the model together, the models without shield didn't really stand out and I don't mind seeing some without shields either. 

On Parade for their king.

So three out of ten knights are completed, and now I'm leaning towards painting three knights at the same time instead of one or two. But first I need to decide on a colour scheme for the three of them.

The command squad for the regiment.

So what colours should I use for the command of the regiment?

A Small Update

 Riding on the back of the Panther Tanks, I decided to continue the hobby drive, sit down and paint something else.  This post will be short...