Tuesday, 30 May 2023

More Knights!

The knights are mustering.

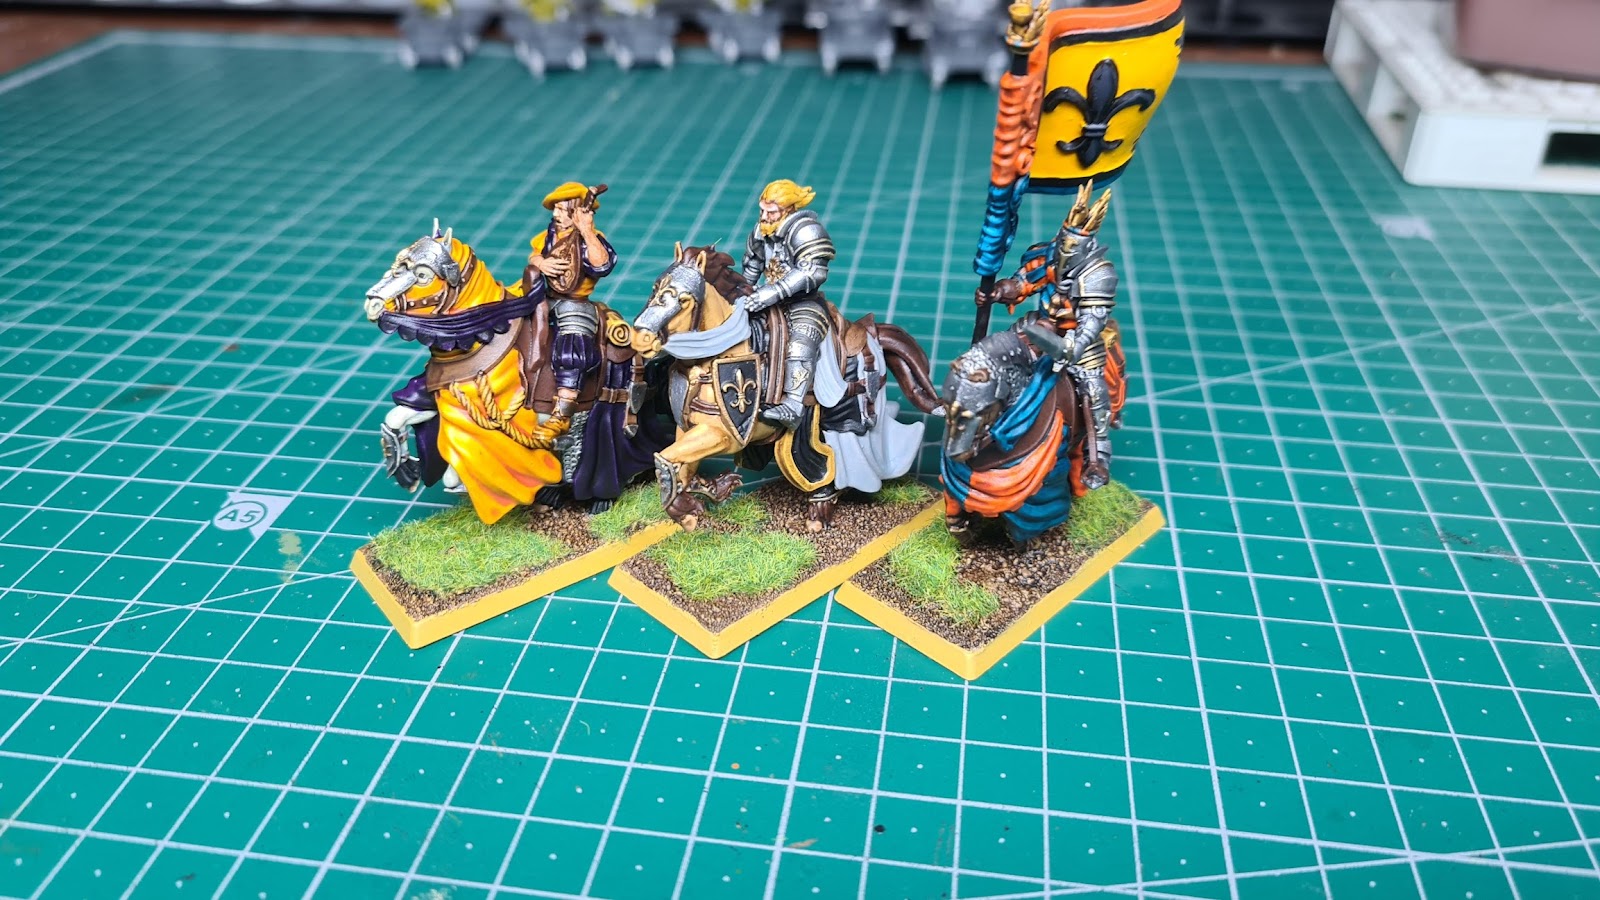
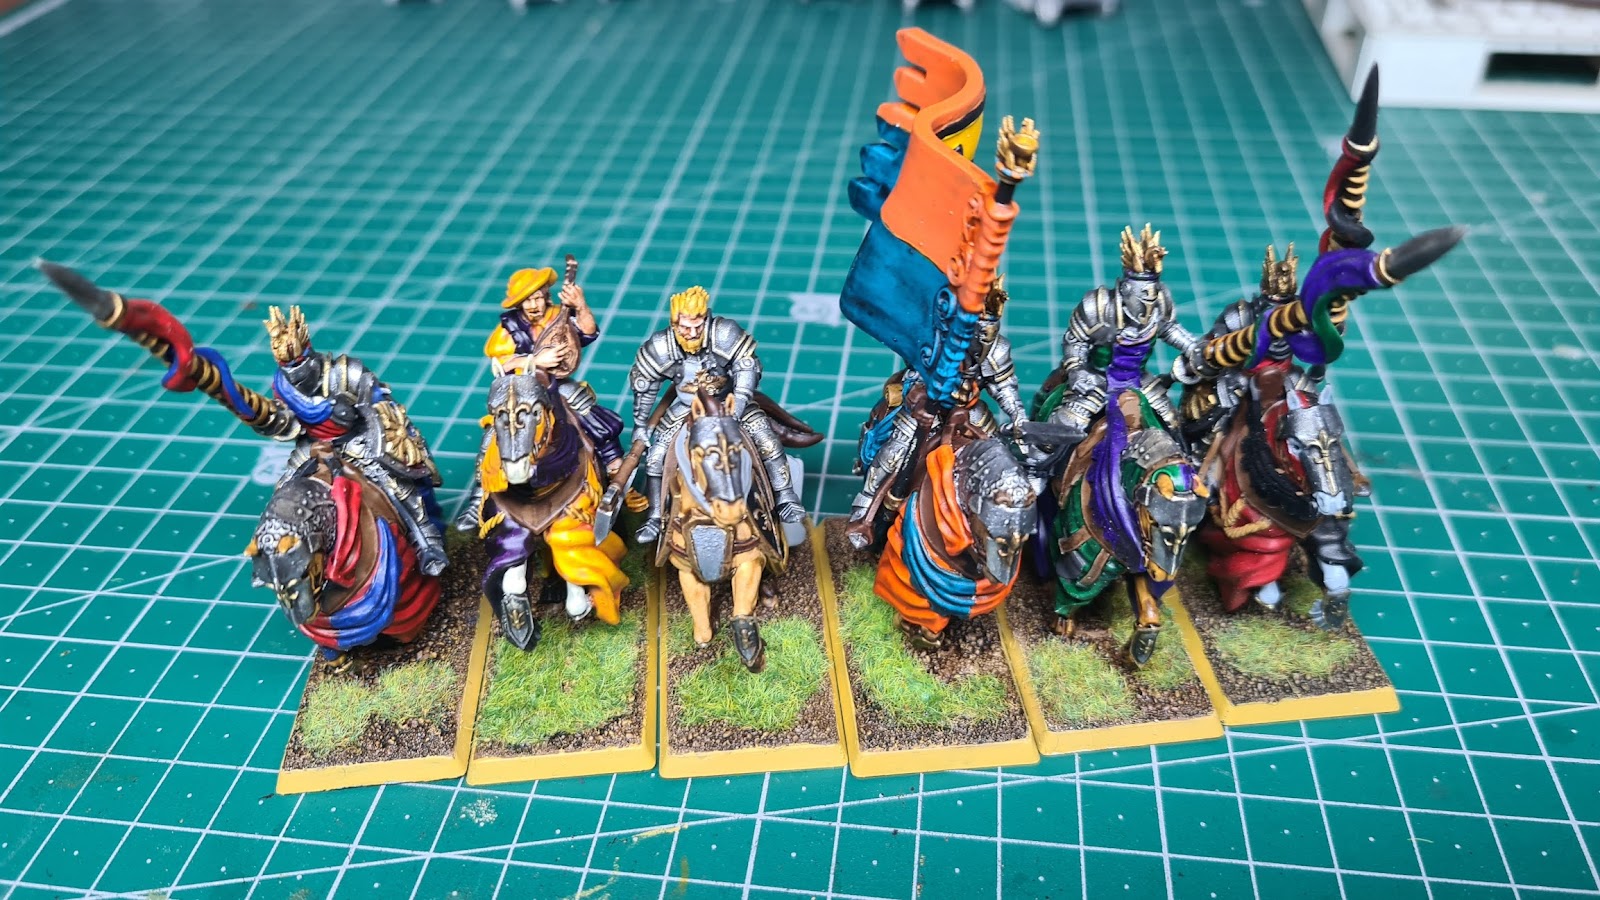
 This update is focusing on my Bretonnian knights that I've been working on. The command section of a regiment of ten Knights of the Realm has now been completed. These models are 3D prints of fantasy knights from Highland Miniatures, and look really nice.

The Command.

My aim with this regiment is to paint every knight uniquely, in the traditional Warhammer Fantasy Bretonnia colour scheme from ye old 3rd edition days.

Horses in full gallop.

The standard bearer was painted orange and teal, using the Vallejo Game Colour Turquoise and Orange Fire, then washed with Contrast Terradon Turquoise and Contrast Gryph-Hound Orange. The flag itself had a white background then washed twice with Citadel Imperial Fist Contrast. The horse was painted Vallejo Flat Brown and washed Agarax Earth Shade.

Banner Bearer.

Can't see this!

The musician was painted yellow and purple, using the Vallejo Game Colour Gold Yellow and Royal Purple, them washed with Contrast Iyanden Yellow and Contrast Leviathan Purple. The guitar was simply Vallejo Woodgrain with the inner part Khaki, then washed Agarax Earthshade.

Doing a sick riff.

Even the horse is loving it.

The champion was painted grey and black, using the Vallejo Game Colour Stonewall Grey and Black, then washed with Contrast Apothecary White and Contrast Black Templar. His hair was painted white and washed with Contrast Imperial First, and the skin was simply white with a wash of Contrast Guilleman Flesh.

Great mane of hair.

His horse is too!

The silvers and wood were done in much the same way as before, with Vallejo Natural Steel, and a mixture of Flat Brown, Beige Brown and Woodgrain. The gold was initially painted Flat Brown then Vallejo Gold, then washed with Agarax Earthshade, along with the saddles and straps. The silver of the armour and weapons was washed with Nuln Oil.

The start of the Lance Formation.

Small bus right now.

For the King!

The bases again were done the same as before, with Vallejo Flat Brown, drybrushed Vallejo Ochre Yellow and washed Agarax Earthshade. The rim is Vallejo Ochre Yellow and a sprinkling of green grass to finish off the models.

Spread Out!

Four more to go and this regiment will be complete!

Monday, 29 May 2023

The Sneakiest Ork Of Them All


Today's update is going to be on my attempt at the Slap-chop method, which I've been interested in trying out. To do this, I decided to paint up Snikrot the Stalker, a unique Ork Boss who loves taking out his enemies in the most un-orky way possible.

Boss Snikrot.

I started out by undercoating the model Chaos Black and dry brushing Vallejo Cold White. I made sure to dry brush it thoroughly so as to have a more even colour application when the contrast paints go on.

Primed and Dry Brushed.
Bright green flesh.

I started with the first colour, Gutrippa Flesh. Its a nice green, reminding me of Goblin Green of old Citadel palette, and looks good for a orky flesh tone. Its a much brighter colour than how I normally paint ork flesh, but for this model I liked it. But seeing how flat the flesh looked, I decided to throw a brown wash over it, and used a 50/50 Reikland Flesh Shade and Contrast Medium mixture to give the flesh some definition.

The flesh after the brown wash.

The backpack painted dark brown.

After this, I decided to apply the browns, and settled on Gore-Grunta Fur, and got a nice dark brown leather colour, applying it to the bag, his belts and straps, and some string holding his pants together. Before I complete all the belts though, I decided to do his pants Asurmen Blue, so it is easier to fix any mistakes I make with the blue.

He's a jean kinda ork.

Skeleton heads and teef and nails.

The skulls hanging off his belt and his teeth and nails were painted Skeleton Horde, and I applied this before completing the brown on the straps and strings to again, make it easier to paint. Sometimes I had to come back with the cold white to repaint the mistakes I was making, often touching up the skin multiple times. Not difficult overall, but I can't see myself painting an army, or even a regiment or squad this way.

Black boots are walkin'.

He's coming together.

His boots were covered in plates of steel, and his two giant knives are all steel too, so I decided paint them with the Game Air Silver, and I was pleasantly surprised at how well it covers, possibly the best silver I've ever used. Its quite smooth and applies evenly, but I can see it being an issue for dry brushing simply because how runny it can be. I decided his boots were going to be black with the silver steel, and so I used Black Templar for them, and applied it to the heads of the stick bombs.

Cleaned up backpack.

The silver was all washed with Nuln Oil, and then painting the stick parts of the stick bombs Vallejo Brass, I finished the model off by applying the Vallejo Desert Scenic basing paint. A quick Agarax wash and a tuft finishes off the model.

Skittles on his facemask.

He's quite sneaky.


One days work.

So this took me a day, along with painting more Brettonian knights, and even applying more colours to some other ork characters that I'm painting the traditional way. But this was quite enjoyable to paint up, and might continue painting a model here and there like this, since it is quite satisfying to finish a model with such great results.


Until next time.

Monday, 1 May 2023

A Barracks For You!

Ghazy on top of his barracks.

 So in this update, I'm showing off a new Ork Barracks that I've put together and painted. I decided to try some new black spray primer, Rust-O-Leum Flat Black. My thoughts on it is that it covers quite well, if a little thick, and takes longer to dry. It also smells for a lot longer. It is quite good for terrain like this but probably not recommended for miniatures.

The black spray, suitable for terrain.

The kit itself was quite easy to put together, with long strips taking up the majority of the kit. It comes in two major pieces, which fit together to make it a blocky and cylindrical structure. I had bought another cheap silver paint to dry brush onto the black, but it has very weak coverage and required quite vigorous application of the dry brush to even brighten up the structure.

Orky Barracks.

 Pulling out my cheap acrylic paint set, I began blocking in the various colours, without trying to be too neat. These are ork buildings, and so a sloppy job suits it quite nicely. I can only imagine oppressed grots doing a shoddy job just to stave off another beating from the slave masters.

Orky Entrance or Exit?

This building will go well with the rest of my terrain, to make up what could be a section of Mektown, or simply an outpost or fort that the orks are inhabiting. I have more terrain to put together, but will slowly tick away at it while the hobby bug takes over.

An Orky Outhouse. Dear God!

Rooftop Party Area.

My other terrain.

Until next time, happy hobbying.

Sunday, 2 April 2023

It's ok to be Grey!

Given it's the current year and grown men play with miniature toys now more than ever, or write up cringy blogs nobody acutally follows. I figured I'd show off my gay little collection of minis I recently completed. So let's delve into what was achieved over the weekend...

Some time back myself and Greg devised some house-rules for a BF2 style tabletop game, which we have dabbled a little with using our Flames of War miniatures. Given the minis weren't quite right, we found we would often get a little confused with which base of minis represented what. We were also play-testing the rules and found they mostly ran very smoothly, offering a fairly fast-paced, smooth game with some minor issues we could iron out.

Surfing the internet, Greg discovered GHQ, a manufacturer that supplied miniatures in a 6mm scale, which is what we were looking for. Their catalogue is huge, with minis spanning many different themes and eras. We, however, were looking more at the Second Gulf War era, as they offered minis closest to the BF2 classes.

So each of us placed an order building our forces around the various classes and vehicles available to the USMC and MEC. I think Greg had to dig a little deeper to find what he needed and I don't quite have everything I need, but am not too far off..

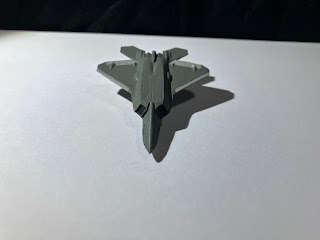
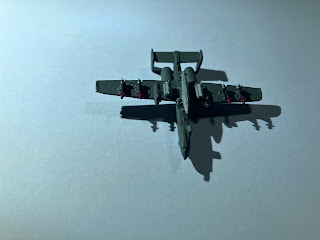
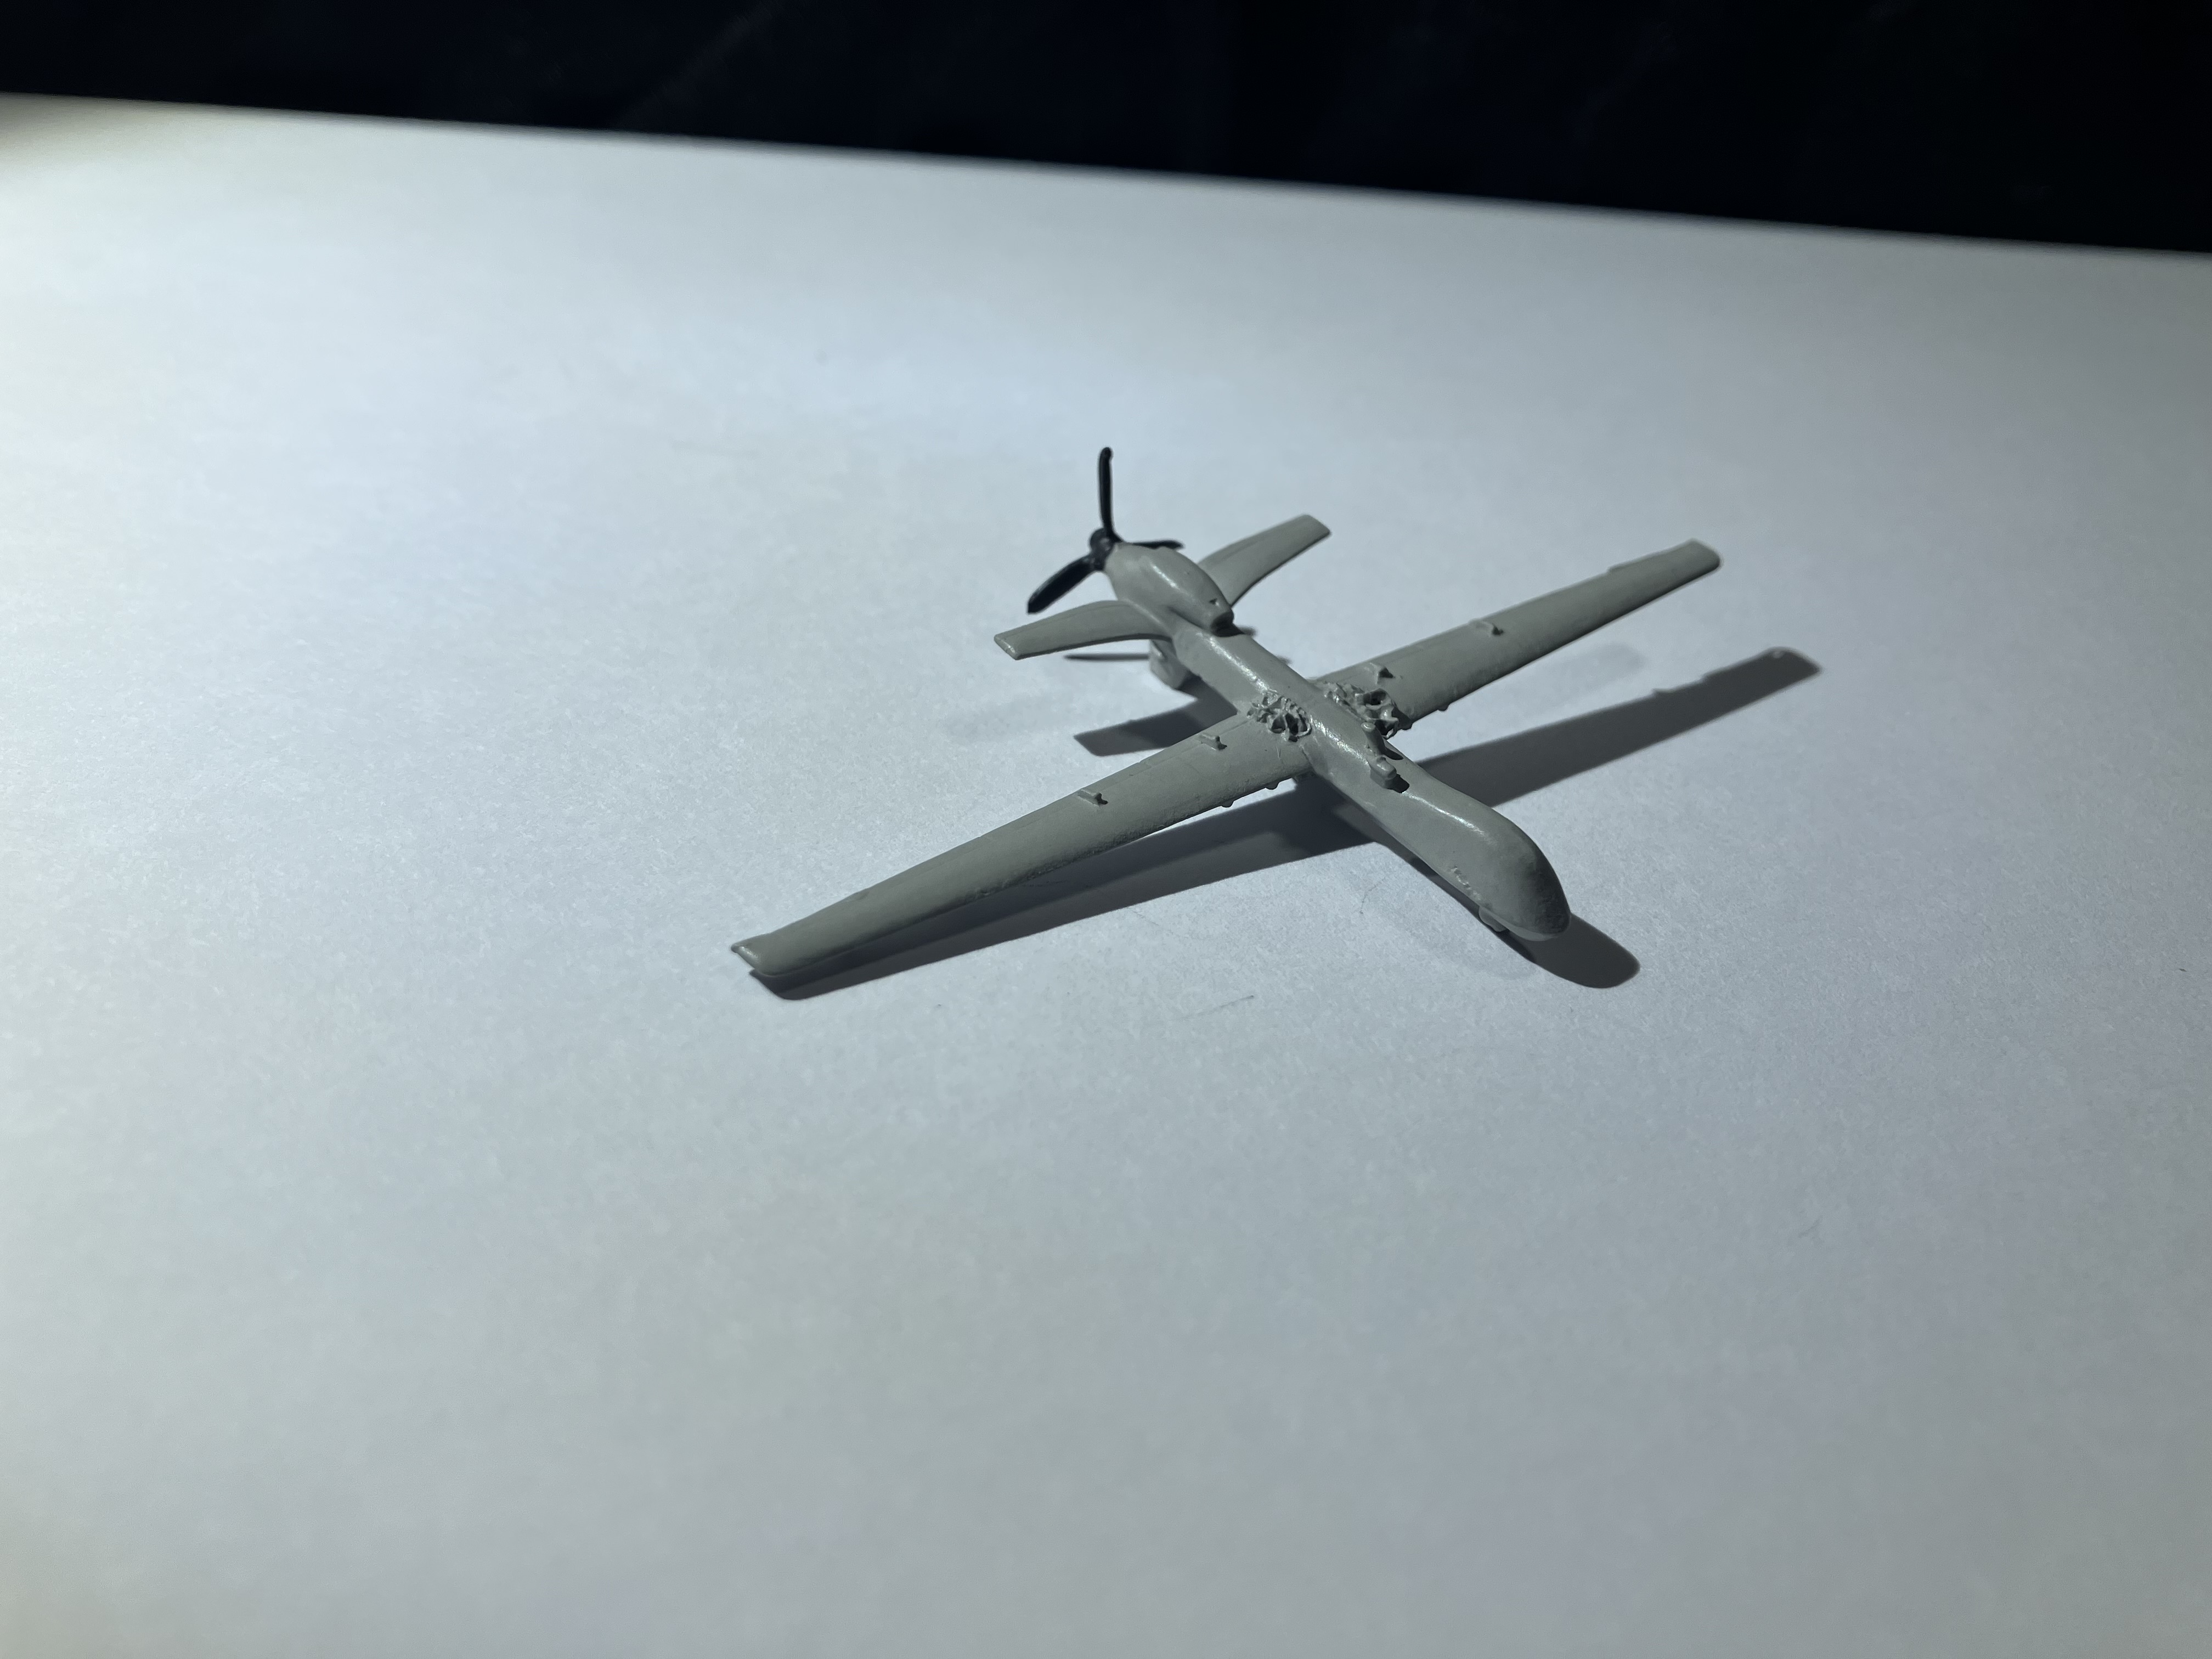
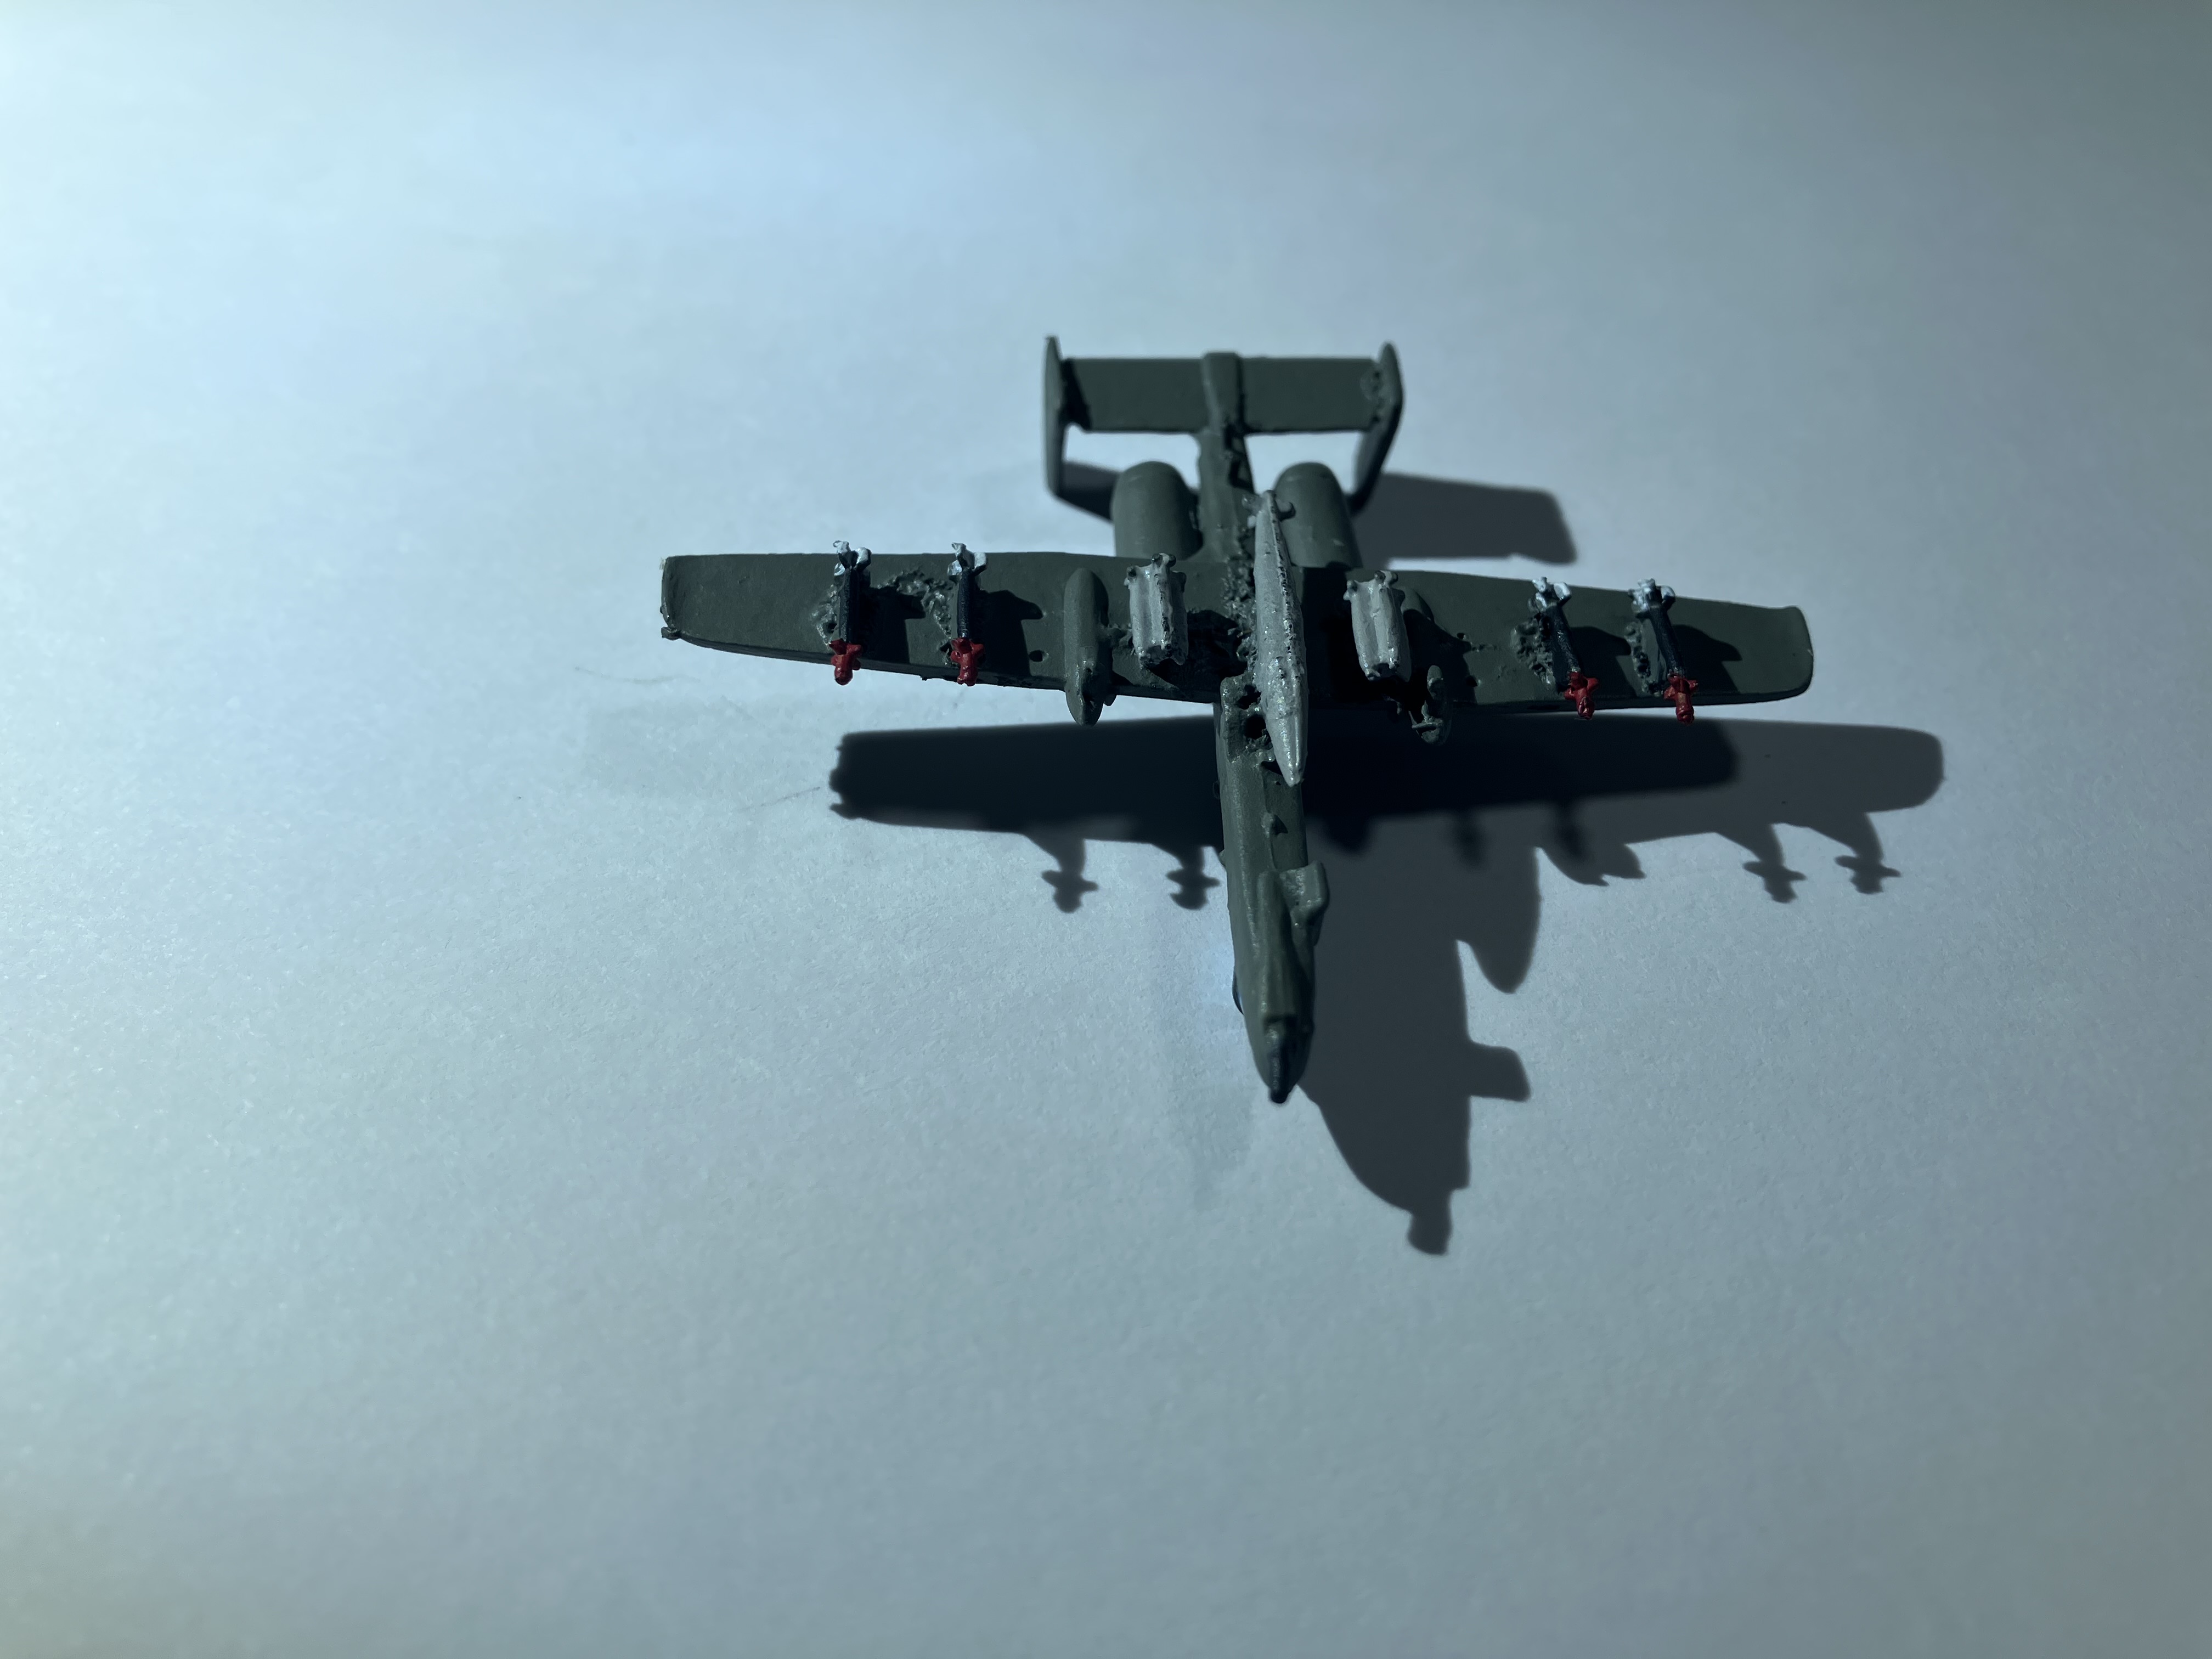
Over the weekend I built, primed and painted all my aircraft, some being really infuriating and it nearly killed my drive - the A-10 especially.

This little model is supposed to be some kind of Drone, but I didn't bother with the attachments, instead it will play as the UAV. At some later point I plan to add stands to ALL the aircraft too.
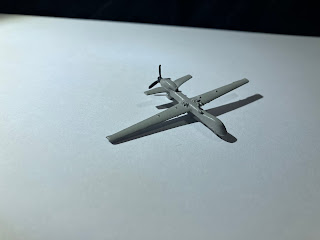

    UAV Online.


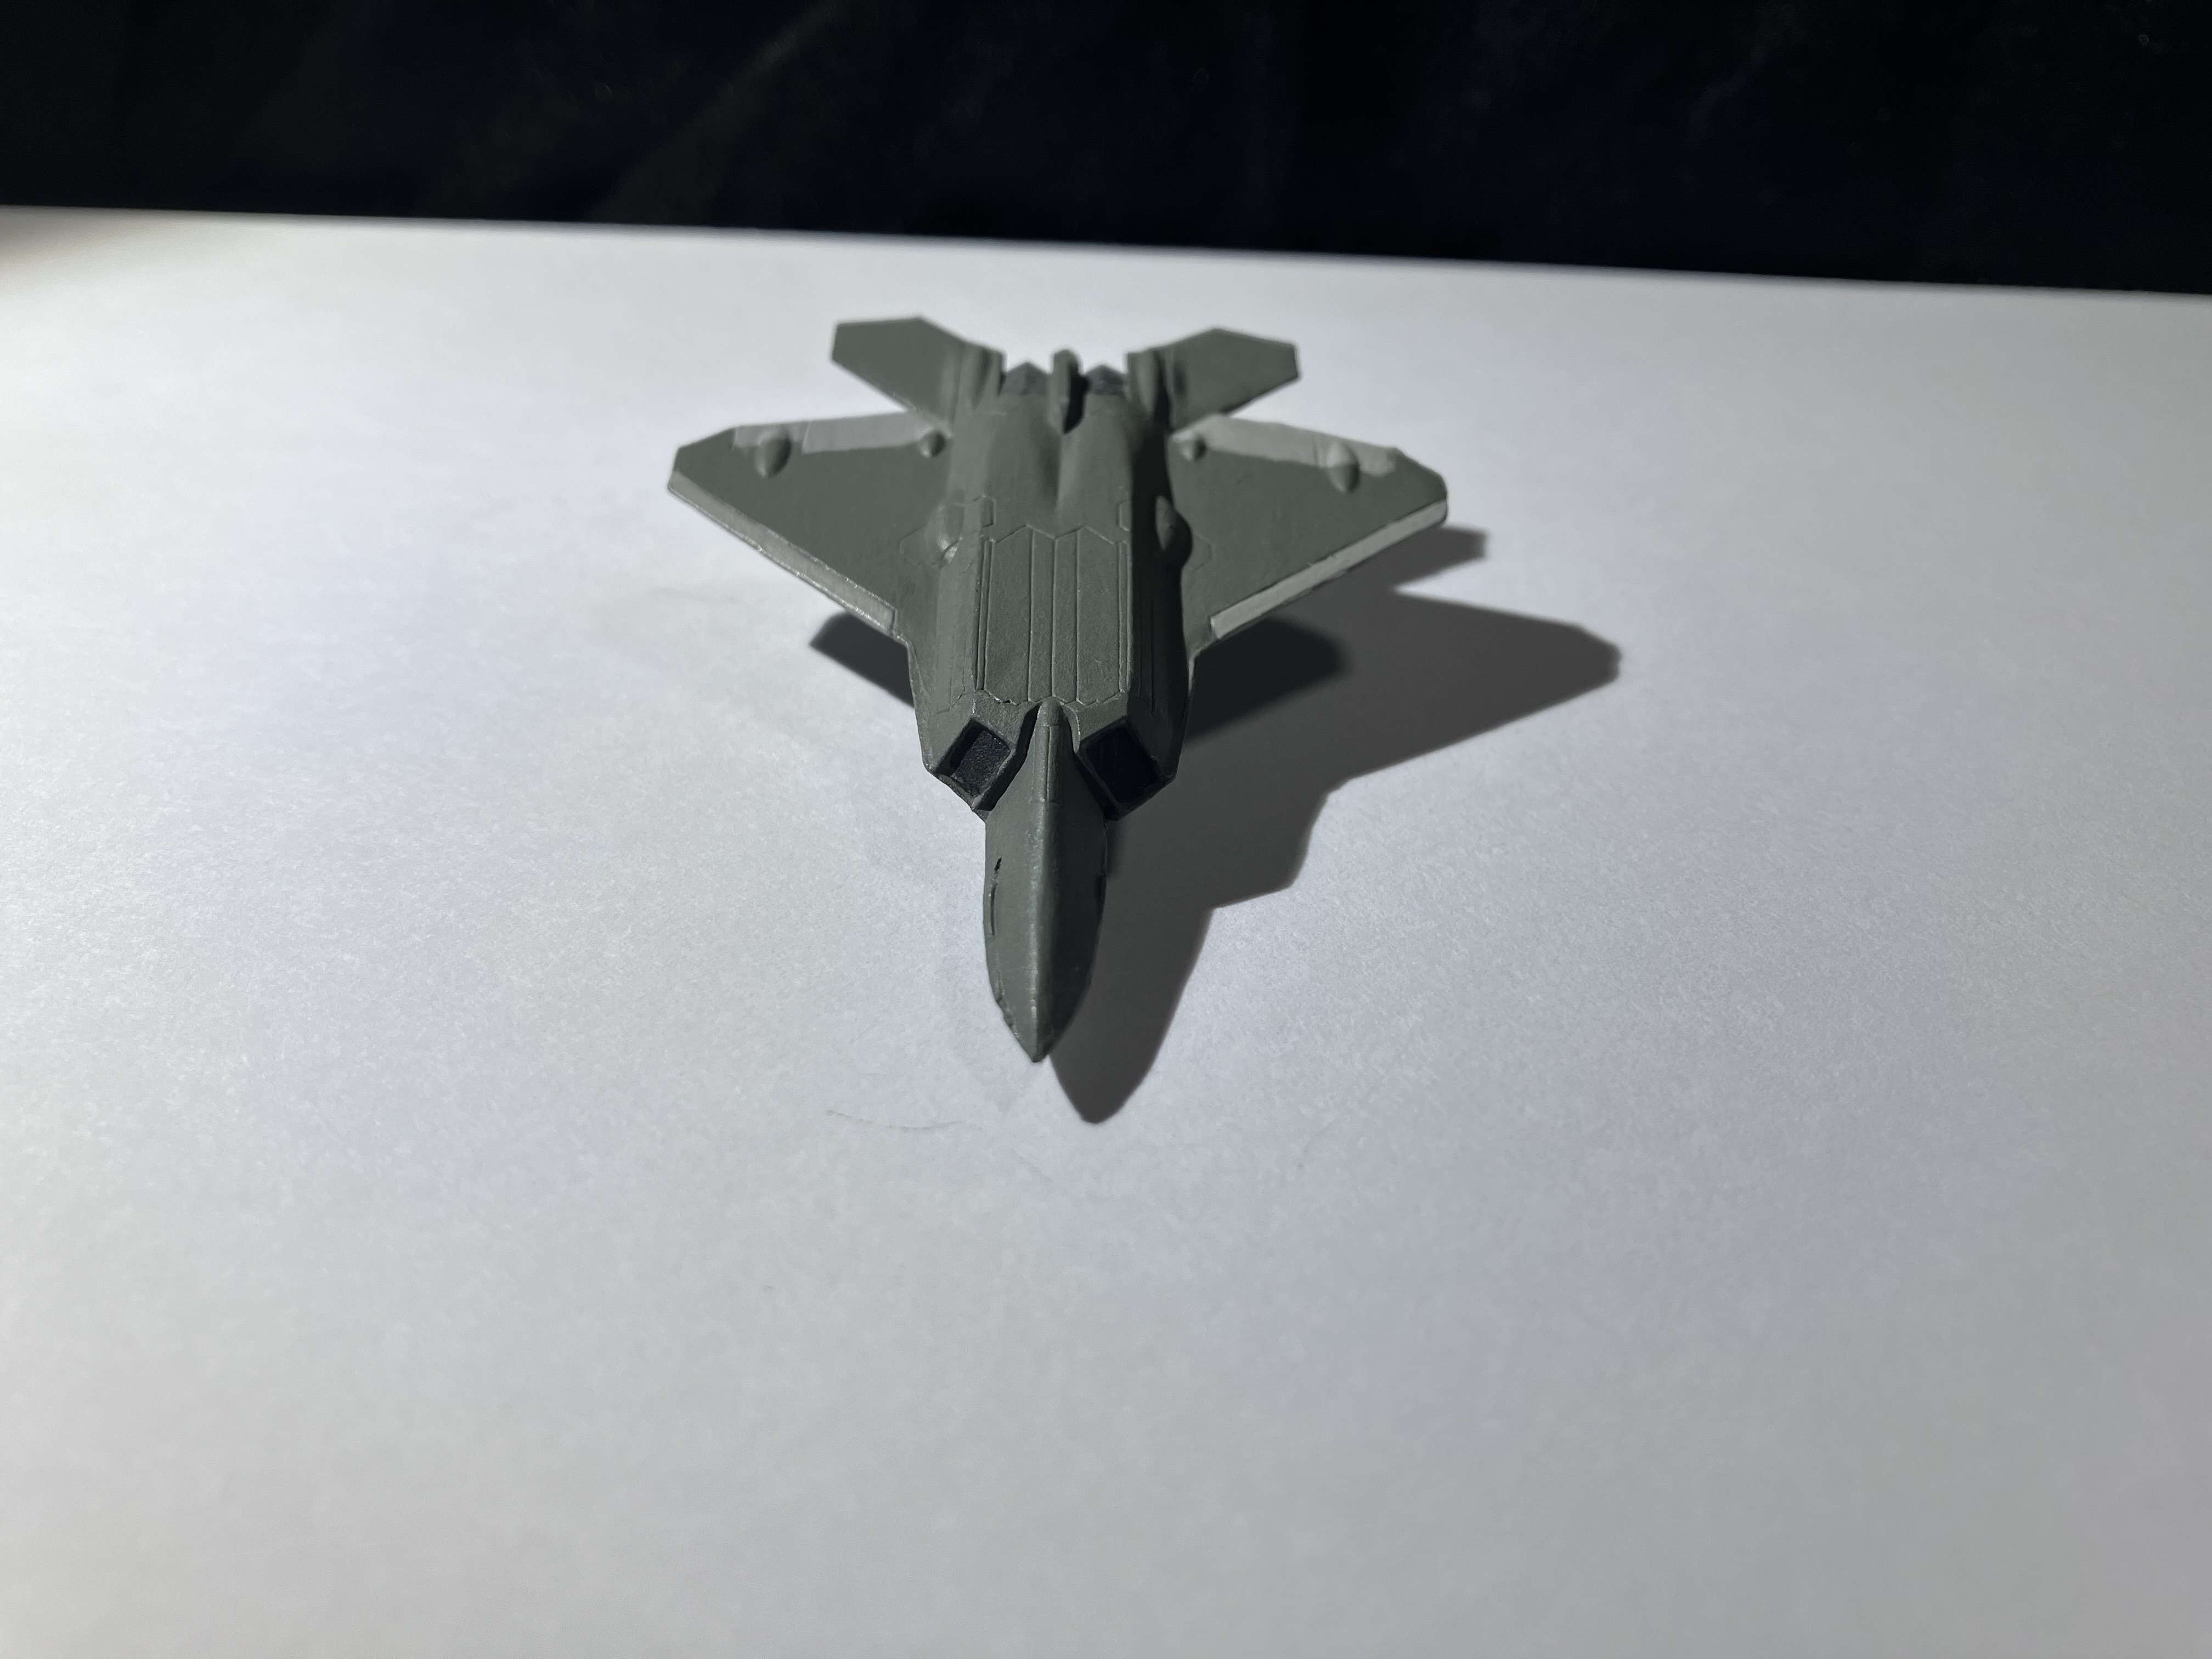
The F-35 Raptor. We haven't quite ironed out the rules for planes yet. But it hasn't stopped me from painting them up. I am pretty sure that the colour is a little too light, but it's ok. I'm happy with the end result. For all of the aircraft I tried my hand at a bit of wet blending on the cockpit canopies. Not entirely necessary at this scale, but it was fun to try as it was my first go, and it helped break up the monotony of painting solely Grey. I do think it helps the model stand out a little more, so I'm happy with the overall effect. 


The dreaded A-10 Warthog. My favourite US plane to date, and an absolute fucking pain to fit together. You can see all the excessive superglue moulds as the teeny tiny parts would not hold. The weapons under the wings didn't attach properly and the tail piece was comprised of three individual parts. However, the tail wing didn't attach to the top of the body, rather, underneath it, which got glue all over my fingers and thumb, causing me to nearly destroy the bloody thing in a rage... The paint scheme is probably a little darker than usual, but I purposefully chose that to 1. use up the Field Grey I had out, and two, so I didn't have too many lighter coloured aircraft. 


Now for my personal favourite model of the lot. The AH-1Z Viper. A great vehicle to man in-game, and a great one to fit together and paint. I do recommend, Greg, if you take note of this, DON'T attach the rotor blades first, then prime and paint. They will continually snap off. Just keep them aside then glue them on later. The colour scheme here is a little lighter, which required a few extra coats. I also decided to give the weapons a little bit of colour, again, just for detail. 


And finally, the UH-60 Blackhawk helicopters. Probably one of the most iconic US helicopters, and one of my favourites. These were built primarily as their intended role in the game, to transport teams forwards and to not attack. That role will be left to the attack helicopters solely.  So the weapon attachments are omitted. Again, painted a little darker this time round, going for a Black Grey colour, done purposefully to distinguish the different vehicles from one another. A simple-ish model to build and paint.


I will have more ground vehicles and squads to work on for future projects. We also need to figure out bases for the teams, something Greg had an idea for, and as afore mentioned, stands for the aircraft. I dunno if I need decals for the tiny models, the extra detail would be cool, but I dunno if I can be arsed forking money out for them. 

Hopefully more to come from myself in the near future, and on top of Greg's outstanding work on his hobby, hopefully a move forwards to also completing our BF2 tabletop minis and rules.

Thursday, 23 March 2023

Thursday Update!


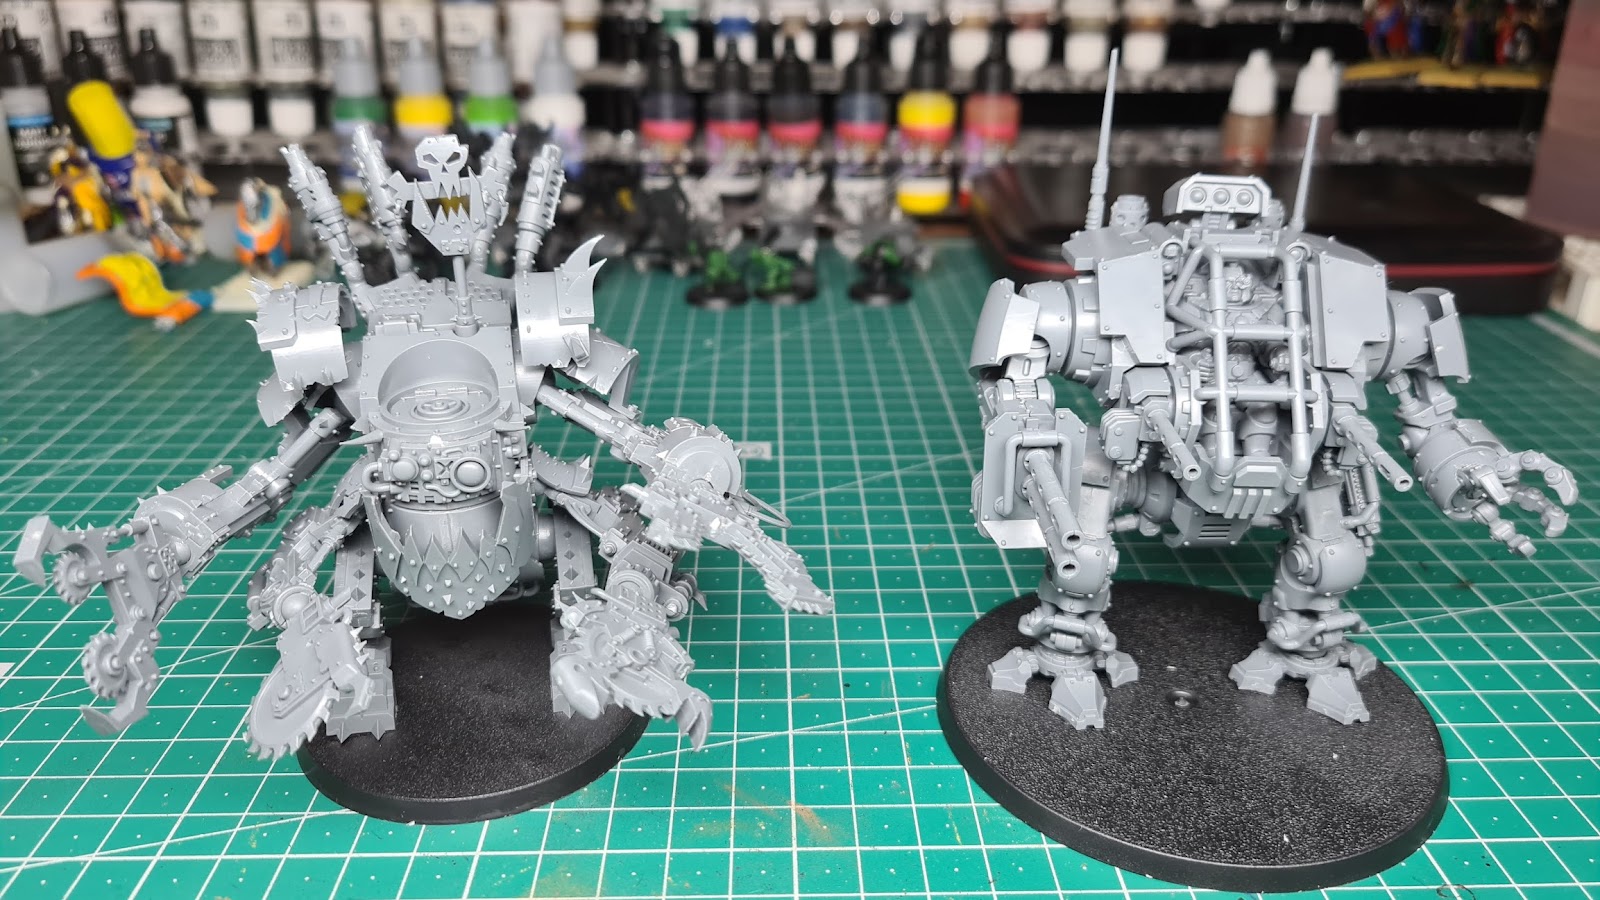
Two Dreadnought Walkers.

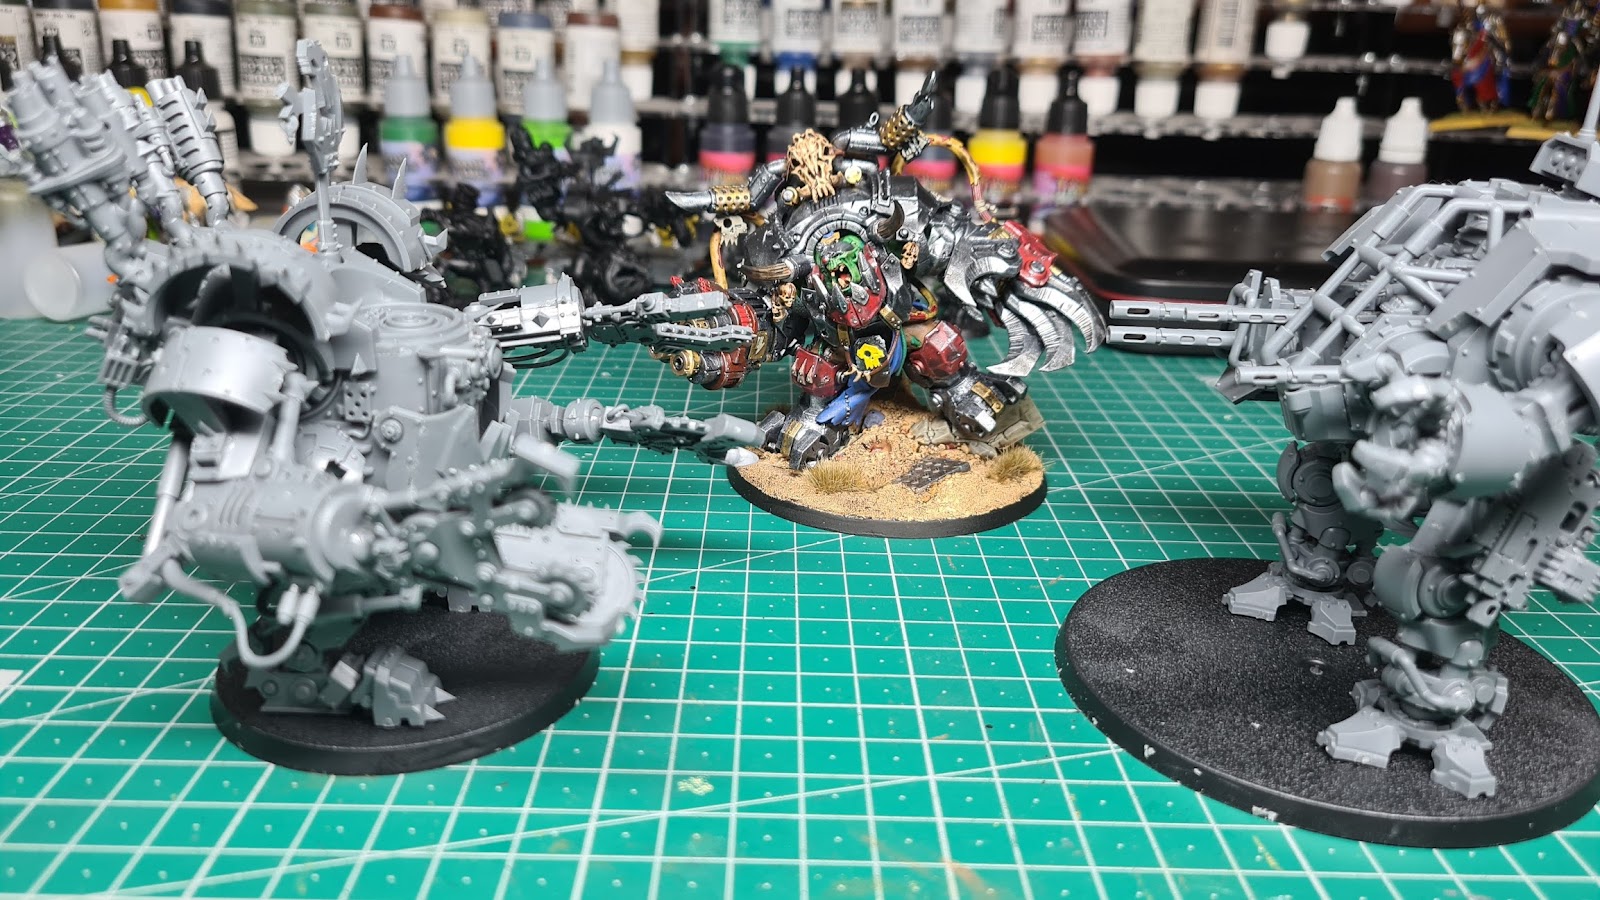
Another Thursday, another progress update. So in preparation for an introductory game of 40k for the sneaky anon who comments on this blog, I decided to assemble the two dreadnoughts that will partake in the small patrol level game between the Orks and the Space Wolves.


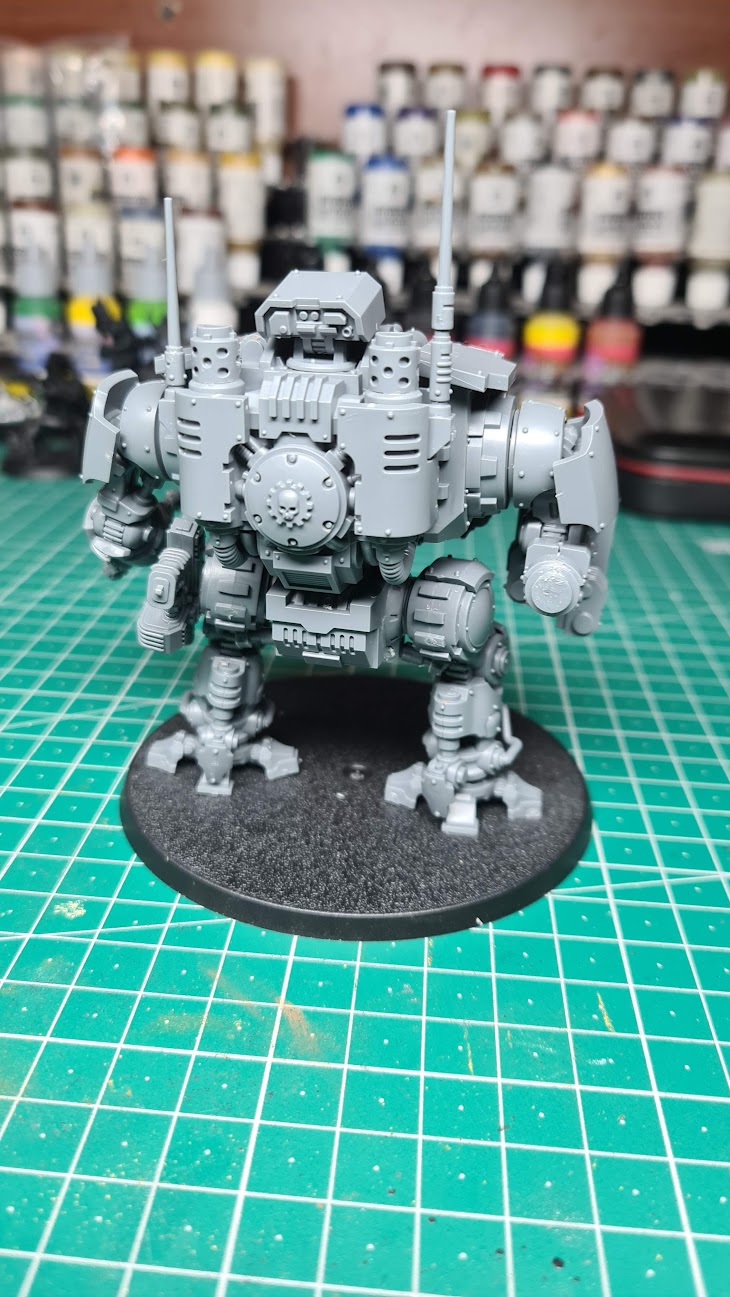
Invictor Tactical Warsuit.

So beginning with the Space Wolves dreadnought, the Invictor Tactical Warsuit is a new variant of walker manned by the new generation Space Marines, the Adeptus Primaris. They aren't as heavy duty or as well equipped as the regular first founding dreadnoughts, but seem to be piloted by able bodied marines, instead of crippled marines interred into what amounts to a walking life support death dealing machine.

The marine comes out.

I'm not sure if I will keep the model in this state of mobility, but for the ability to paint it, I will be holding off on gluing everything down and keep it static in nature. The arms come off for ease of painting too. Its also quite fiddly and I fear that it would break off if not secured properly with glue.


He doesn't want to go back in.

Extended arm.

Where's he aiming?

It was quite a large kit to put together, and fairly complex to put together. Some pieces aren't even supposed to be glued together, for ease of orientating the model, like the pistons between his legs, which I glued before realising what I had done. I ended up fashioning some bearing looking pieces to attach to the underside of the legs, by using some sprue drilled out on one side and cut to size. Overall quite a nice kit to put together and looks great once all together.

I give up!

Those are exhausts, not jetpacks.

The bodge worked a treat!

But of course the Orks weren't going to be left hanging, they need a dreadnought of their own! In comes the mighty Deff Dread. Essentially a Mekboy and a Mad Doc come together in a collaborative effort to make one of these clanking murder machines on legs. First, the Mad Doc ends up with a "patient" who's too far gone on the operating table to make a full recovery, and needs a few limbs and/or organs replaced to be fit for duty. So the Mad Doc pays the Mekboys a visit and tries to find "replacement parts".


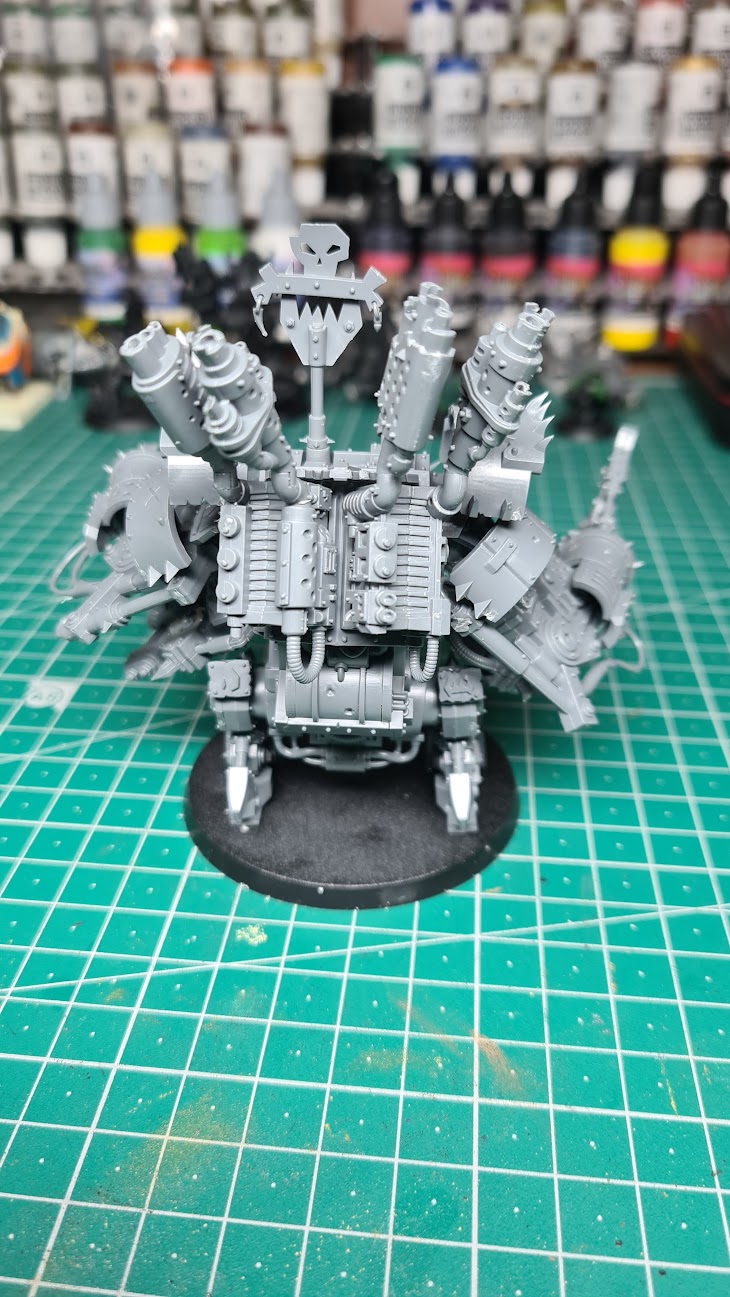
Deff Dreadwith four Klaws.

Sometimes the Mad Doc finds what he needs, be it a mechanical leg or arm, iron lungs, cranium plates, cybernetic parts or even vehicle parts. But sometimes, a Mad Doc finds himself a Mekboy who's eager to help, simply needing a "volunteer" to help him in his quest to make the more killy thing possible. And so a Deff Dread is born.

Kill Klaws and Saws.

Looks like a W16 engine on the back.

The kit is more straight forward than the warsuit, and it comes with a lot more options to build it. It has a variety of weapons to build it out with, and I decided to go with a close combat set up for this Deff Dread. I thought quite a bit on how I'd like to run it in game, and decided that the dread would want to be in close quarters more often than not.


Exhausts coming up.

I did have to drill out some of the exhausts on the model, and there were quite a few mold lines on it. Luckily, if I did miss some, the Orks aren't known for being refined and don't look after their gear like Space Marines do. I'm looking forward to the first game these two will have, and to see how they fare on the table.

Who will win?

Ghazghkull will win!

Until next time!

Meganobs

 This update is focused on some rebasing work I've done. After finishing my Deff Dredd, I decided to rebase these Meganobs to fit my arm...