Monday, 11 December 2017

1st British Paras in Normandy


So this year as a present I decided to get A Proper Cuppa a present. Not just any present though, but something I knew he's been wanting. A British Parachute Infantry Company. At least the beginning of a company. Of course I had to do this without his knowing, so updating the blog was out of the question! I started shopping around, looking to see what I could get for around AU$100. First port of call was Battlefront, and looking at their British Para Company box set for US$54 from their direct online store was something I was considering.


The next port of call was Plastic Soldier Company. They were offering the a British Para Company box set for UK£22. Checking with my usual eBay dealer I noticed he had the PSC variant in stock, and was discounted to boot.


What really made my decision to go with PSC was the fact that the British Heavy Weapons box set from PSC was quite a good deal and was being discounted on the same sellers store. So I went with that. Only other thing I needed to buy was some bases. Got my hands on some MDF cut bases from eBay and I was ready to star work on them.


Cleaning them from flash was almost non existent. The molds were quite good and detail at this scale is something I'm not fussed about, but these were good as well. So putting them together was a breeze, but the bases have no slots for the models, and it meant they were not ideal for basing. What I then did to smooth out the bases was use filler to coat the bases. The effect wasn't perfect but with flock I was sure was going to look good. A quick spray of PSC British uniform spray and I was ready to do some camo work.

Earliest photo I have of these guys, camo already done.

The camo was simply randomly applied with the first colour being Army Painter Army Green, secondly I applied Vallejo Reflective Green and lastly Vallejo Beige Brown. It was a long and boring process, something I hope not to repeat in a long time.

Camo Colours used.

The next colour to go with was Vallejo Khaki for the webbing and straps. This was followed by Vallejo Black Grey for the boots, then Vallejo Flat Flesh for the skin. Reflective Green was used again for the helmets, and Army Painter Pure Red for the berets. The rifles were done with Vallejo New Wood and Army Painter Plate Mail Metal. The bren guns were also the same colours, with the stock being brown.

The boys just before their wash.

After all the colours were done, it was time for a wash. An Army Painter Soft Tone Quickshade wash. This wash is quite good if you're looking to wash whole models to add detail, and it also protects your paint job. It does set glossy, so you will have to spray the your miniatures with a matte spray.

Complete models right after a matte spray coat on them.

The final thing to do was apply flock. For these guys I went with a rough 30/70 mix of Woodland Scenic Earth/Green Blend Blended Turf mix. Bit of PVA and a dunk in the flock and project complete. With all of them done, I was finally able to present them as a gift to my good friend.

About 1000 points in FoW.

Vickers HMG.


3" Mortars.


Company Command.


Rifle Platoon #1.


Rifle Platoon #2.


Rifle Platoon #3.

Hope you've enjoyed this update, and stay tuned for more.

Thursday, 30 November 2017

Not Dead Yet!

As the title says, not dead yet.
It's been almost 8 weeks since the last update, but I'm still doing some hobby. I AM a little burnt out on it though, and with the secret project I've been working on, the updates have dried up. The only thing other than my secret project that I've complete was a Warhammer Goblin Shaman.

GW Goblin Shaman.

Suffice to say, with the secret project finally done, I can resume work on my two armies for Flames of War.

My current To-Do list. Mostly German stuff,
with the green trucks being British lorries.

But what is this secret project that I've been working on you might be asking? Well, this will be revealed in the upcoming days. Here is a teaser though.

Garcia settles in on my secret project.

Hope you've enjoyed this update, and stay tuned for more. Sooner than later =)

Friday, 6 October 2017

British Rifles in Arnhem

British Rifle/MG Platoons

Today's update is focused on the just completed platoons of British Rifle/MG Platoons from Plastic Soldier Company. Each Platoon consists of six stands of infantry, one each of a PIAT team, light mortar team, and SMG command team, for a total of nine stands per platoon. There are exactly thirty-four infantry models across all the bases, with two platoons in total complete. The PSC box comes with enough models to make 3 full platoons and company head quarters.

PSC 15mm WW2 Late War British Infantry

While good value for money, and being all plastic, this box is excellent for starting an infantry platoon. Unfortunately the box doesn't come with bases, so you will have to source them separately. The sculpts are acceptable, with little in the way of mold lines, and everything is a single piece except for the PIAT teams, two inch mortars teams and Bren gun teams being two piece per model.

First platoon spread out against a rickety old fence. Bren light machine guns ready to fire.

British Infantry typically were armed with the bolt action Rifle No.4, a more easily produced version of the previous Lee-Enfield, still firing the powerful .303-inch round. Peppered through out the platoon were Bren light machine guns, a licensed version of the Czech ZGB 33. The Bren LMG was a reliable workhorse for infantry companies, and soldiers were clamoring to get their hands on more of them. It used the same ammunition as the Rifle No.4, with an RPM between 480 and 540.

More infantry in the field next door. 

Besides Bren LMG, British infantry platoons also were equipped with Projector, Infantry, Anti-Tank (PIAT) Mk1. Designed in 1942, these anti-tank weapons were quite similar to light mortars in function, but shot with support from the shoulder. These PIATs were generally disliked by the commonwealth troops due to it's inaccuracy and unreliable ammo, and also at just how heavy and bulky it was. However, it was a cheap weapon to produce, and it was excellent for ambushing roles since it didn't have much muzzle blast when fired.

Second infantry platoon, on the far left field. The PIAT on the left, ready to fire.
In the center is the command team, which looks like a lieutenant is a part of.

The NCO here are sporting the Sten gun, a cheap and simple sub-machine gun developed by the British during the Battle of Britain. While the British were buying up everything they could from the US, it simply wasn't enough to replace all the guns lost during the evacuation at Dunkirk. So the British designed and developed the Sten to complement the numbers of the Thompson SMG bought from across the pond. The Sten shares design features with the Lanchester SMG, which is a design copy of the German MP28 SMG. It uses 19mm rounds and typically had a 32 round capacity magazine. It was described as being highly inaccurate and unreliable, but was easy and cheap to produce, costing 15 shillings during the war.

Light two inch mortar team in the back ready to fire over the heads of a Bren gun team.

The two inch mortar was a regular with British infantry. The mortar typically shot a HE round and a Smoke round to a range of about 500 yards. The barrel originally had a sight on it, but was soon dropped as it was unnecessary for front line duty. Instead they had a single white line along the barrel and soldiers simply would line it up and fire. With enough practice, soldiers could accurately hit their targets with this simple system.

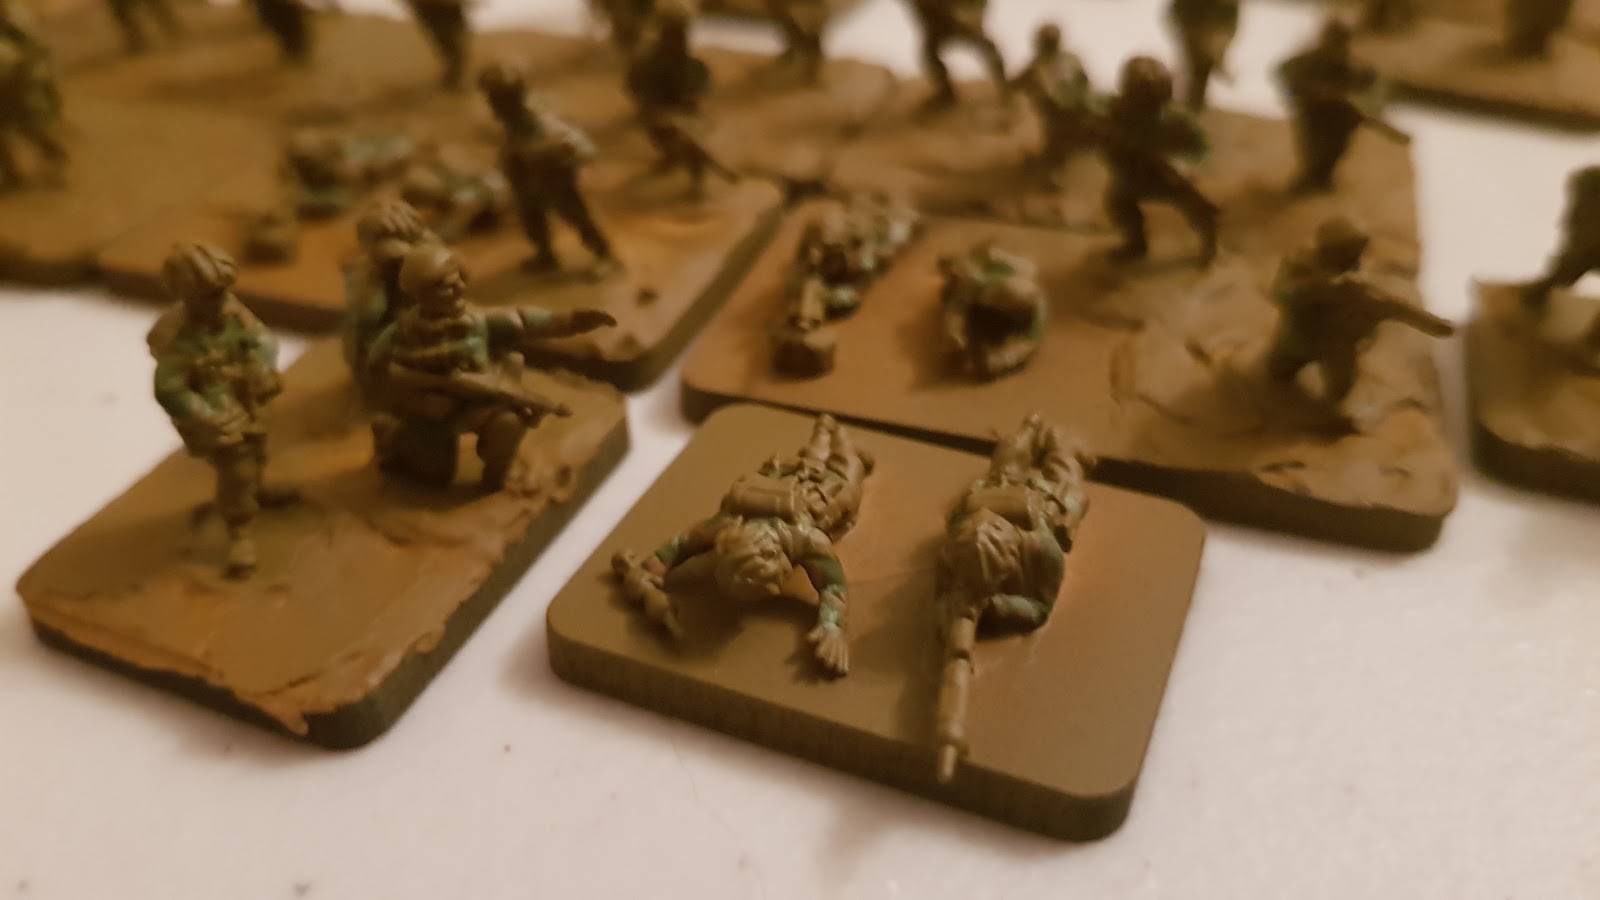
Close up of the Bren guns. The box only comes with one type of
model for the Bren gun, so duplication is noticeable here.

Panorama shot from behind.
The markings on the bases is to denote which platoons they all belong to.

The paints I used for this are in the picture below. I started with basing the stands with fine dirt, and then undercoating them in Plastic Soldier Army Spray British Khaki. I followed this with Vallejo Model Colour Khaki on the webbing and belts and various pouches, leaving some untouched for variety. Next was the skin, which is Vallejo Model Colour Flat Flesh, and this was the face and hands. The face has a chin strap, so I would come back to this after most of the other colours were done in the clean up phase.


Once the flesh was complete, I decided to paint the base Army Painter Dirt Splatter, and once dry, a light dry-brush of the Vallejo Model Colour Flat Flesh. Then carefully paint the boots with Vallejo Model Colour Black Grey. The weapons are painted Vallejo Model Colour Beige Brown for wood and Vallejo Model Colour Gunmetal Grey. To finish it all off, a quick picking out of the camo leaves on the helmets with Vallejo Model Colour Reflective Green, and a whole model wash of Army Painter Soft Tone, the stuff of champions. 

Another closeup of the infantry.

The final touches is some Army Painter Field Grass in patches, to simulate French/Holland countryside.

Ready to go to war to kick some jerry arse!

Hope you've enjoyed this update, and stay tuned for more.

Sunday, 1 October 2017

Ploughed Field 3/3


For my third and final ploughed field, I decided to try my hand at a bombed field. Following the same steps as the first two, I glued the sponge to the base and began to cut up bits of the sponge. Using the spak filler, I filled the holes and smoothed them out to look like impact craters. It was a little fiddly to do, and took a few days of touching up and leaving to dry.


Next, I added the base coat of paint. Testing to see how the craters would look, I soon realised I needed to lighten to tone of the entire field, mixing much White to the Burnt Umber. Once it dried, I noticed that some of the filler peeled or broke as the sponge was soft and shifted its form as I painted. It, too, took a few days of adding numerous coats.


Following the same steps as my first field, I began to cut up and glue my fences together. This time, I decided to try something different and make a telephone pole as well. For this, I used a kebab skewer, cut it to size, smoothed it and glued on some 'arms'. Once dried, I hot glued the fences to the base, making sure to make some of them look damaged or destroyed by the Artillery, then began to paint them. Once again, I used a base coat of Burnt Umber followed by a mix of Raw Sienna for a second, lighter coat. Then I added the White and gave them a drybrush to highlight them a bit more. Once I finished that, I added the watered down PVA glue to the base and added the Grass Tufts and the Flock.


Thursday, 21 September 2017

Felt Roads Just Leveled Up to Level 3!!!

Quite a whiles back we had the idea to make some roads for Flames of War, and we quickly decided we wanted something modular and easy to make. We came across a Youtube tutorial on making roads out of fabric, dyeing it black/grey, and spraying with PVA mixture. It was a nice idea, but I wasn't convinced on the spraying of PVA and also wanted something rough looking.

This is where instead of old jeans like the tutorial called for, we decided to use felt as a replacement material. We bought a heap of felt and started cutting it up into pieces of roads.
Straight cut piece of brown felt.
Once this was done, we brushed them a mixture of darker browns, followed by a green brush on the sides to simulate grass on the edges. This however did not work well, with the green quickly being drowned out by the brown and fading over time too.
It looks good on its own, but on my green felt table,
it looks too much out of place.
One night, while working on the fences, I was messing around with the spare green felt and test fitted some to the road, just curious how it would look. It looked great, I was amazed at the effect it had. Not only was the green felt better looking than the green paint, but it added a bit of depth to the road. 
It now looks more defined, with the road being clearly recognizable,
while matching the table as well.
I quickly laid it down onto my table, which is just four boards covered in green felt, and it was an obvious improvement. I quickly got to work cutting out more green felt, cutting them all to fit each felt, as one piece per side. The whole process is quite easy, and in one night, managed to do all the weird shapes, followed by the straight sections the next night.
Green felt cut to size. PVA used to glue it into place.
Its as simple as it sounds, cut the felt to size and glue it on with PVA. I made sure to cut the strips longer than the brown felt, to avoid mistakes in sizing.
Green felt is longer, to avoid mistakes.
Simply cut them after they are set, then they are ready to go on the table.
One down, twenty more to go!
With all of them complete, it was time to see how they all look on the table.
All of them laid out on the table.
Here's one configuration, using as many as I could without it being disconnected. The green felt already makes the roads look more neat.
Looks quite busy for a dirt road.
Since I had the table out, I decided to go all out and decorate it. First I added the trees I've recently based, with some of the houses to boot.
Trees and houses.
After this, I added fields and fences. The green felt on the roads is a good indicator of how far the fences should be from the roads. If you want them closer to the road, then that can be done too.
Fields and fences.
Again, I feel like more fences are in order, even after making those bush fences, I feel we still don't have enough to make it look believable.

Overall, I'm quite happy with how to roads now look, they've added a bit of depth to the battlefields and look more neat. Only thing I'd like to make is some dead end pieces. Some dead ends will help building a road system that's not too busy or convoluted. This will go on the to-do list.

Hope you've enjoyed this update, and stay tuned for more.

Monday, 18 September 2017

Dirt Roads


This isn't something new for us, however, I have decided to make some additional sections of road and thought it would be worth sharing. The idea isn't one of our own, but rather, passed on to us from another FoW player / terrain builder. Our particular road sections are a little more simplistic, and still give us good playing terrain.

From a local hobbies and crafts shop, I bought several 30x20cm Brown Felt squares. Designing 4" wide road sections, I cut them up and began to paint them. I used Burnt Umber as the base coat mixed with a touch of water to allow the paint to soak into the felt, and to act as a scrub to remove any loose felt. I then mixed Raw Sienna into the Umber which made a sort of Tan tone. I scratched that into the middle of the felt to give the impression that heavy traffic had been moving along the dirt roads. Finally, I used a Light Green and scraped along the edges to give a 'grass' look, and left them to dry.

This technique, we had tried before, but found the Green faded. As such, spare Green Felt from designing the game board is being cut up and glued over the top to add a bit of depth and detail instead. It's an idea only just being tried, but is so far looking promising. In the future, using these techniques, I would like to make longer, thinner dirt tracks, just for different terrain bits to use on the board.


Tuesday, 12 September 2017

The Shermans are coming!

So I finally got around to applying decals to my Shermans, and after waiting for more decals to come into the post, I've finally finished adding the finishing touches to these great tanks.
2 Platoons and 1 HQ upfront. Each platoon is sporting a Firefly

These tanks are marked part of the 30 Corps Guard Armoured Division. More specifically they are the junior division, as indicated by the red square marking with the white fifty-three.
Red Square with White 53 on right indicates the tank is
part of the junior division. The blue shield on the left
indicates it is part of the Guards Regiment.
The star on top of the turret is there to indicate to friendly warplanes that these tanks are friendlies, and not to drop bomb or shoot rockets at them. These stars was something new to the period of 1944, following a decision to standardize marking across all the allied forces. Before this British tanks didn't have a star, and the American tanks had yellow stars, but it was agreed in 1944 to apply the star to all allied tanks and for it to be white.

Moving on, I've gone ahead and made this set of tanks be part of A Squadron, as indicated by the blue triangle on the side of the turret. The blue also indicated it was part of the junior division.
Blue Triangle on side of turret, denoting A Squadron.
A quirk of the Guard Armoured Division was it's tendency to colour in the triangle black and add a number to denote what number tank it is. I've decided not to include this practice on these tanks because it will make it more difficult to chop and change platoons and not have them look out of sorts on the table. While not entirely accurate, the compromise is worth it, and doesn't bother me as much than if I did decide to replace a Sherman with a Firefly in a platoon and for the numbering not to match.

On the front of the tank, there is more of the Divisional markings, but there is also a yellow circle with the number 30 in it. This indicates the bridge weight rating, meaning the tank has passed a test, and the resulting number roughly says the weight of the tank and what bridge category it is safe to cross.
Divisional markings and the bridge rating, barely visible under all that mud.
I've dry brushed some brown to the front, and to the tracks, to show that it's been cross country and been dirtied up. Don't worry, the boys will wash it off when they get to Arnhem in less than a week...

All in all, I'm quite pleased with how the tanks look now, the decals weren't difficult to apply, and they really bring out the character of these workhorse vehicles. To round off the tanks, I decided to blacken the cannon tips, to show that they've been doing bloody business on their way up Hell's Highway.
Blackened turret, obviously had a scrap with some Gerry.
Some more Sherman Closeups.
That commander looks bored.

More Shermans and a Firefly.
It's gun can go toe to toe with most German Cats.
Hope you've enjoyed this update, and stay tuned for more.

M-10 3-Inch Gun

 Having had another battle recently, I was again, put in the mood to paint something. This time, I decided on something quick and easy. I we...